Tuesday, July 24, 2007

Can UV light make single cells visible?


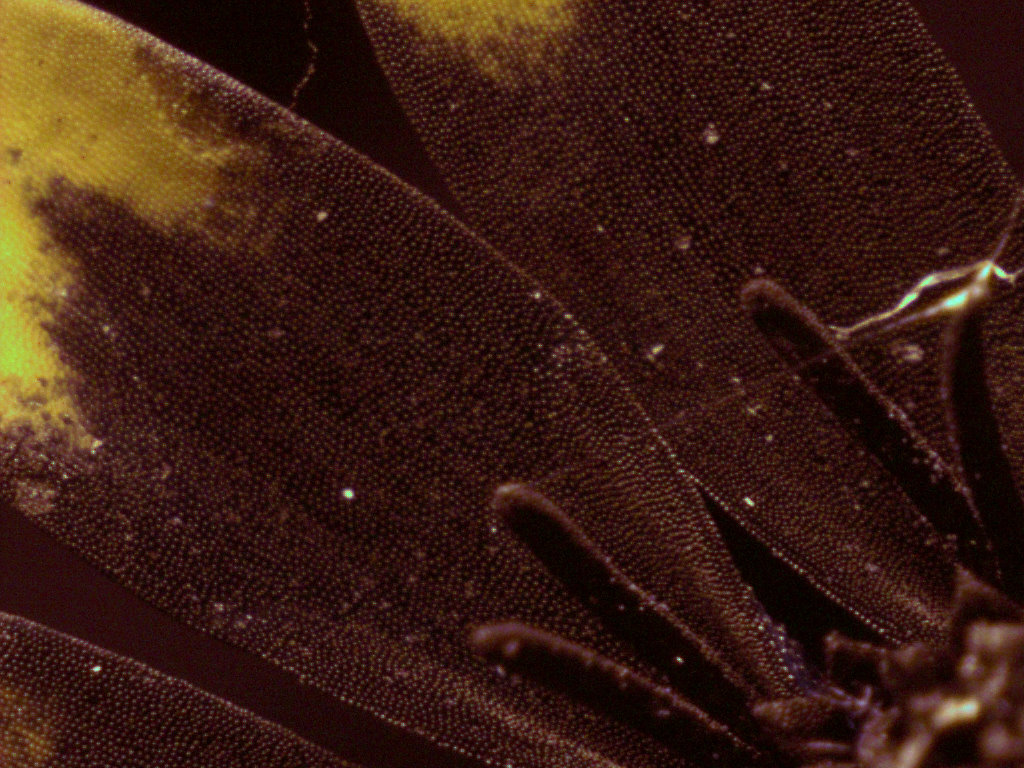
A few shots today using the same target (Mexican Zinnia) and the UV Rodagon 60mm. I wanted to see if it would be possible to make indiviual flower cells visible since UV has a much higher resolution than normal white light (about double as compared to green light 546nm).

I also found it quite nice, that this lens performs quite well, even used outside its designed range, here at 3x magnification (design range 1:2...1:20).

Here now some results, first full image reduced to 1024 pics, the rest all 1:1 without compression in size [as usual click on images to see a large image]:


The UV shot indeed reveals quite some detail of the petal structure and yes, the single whiteish spots are individual cells which were made visible:


... and a bit more here:


... and here:


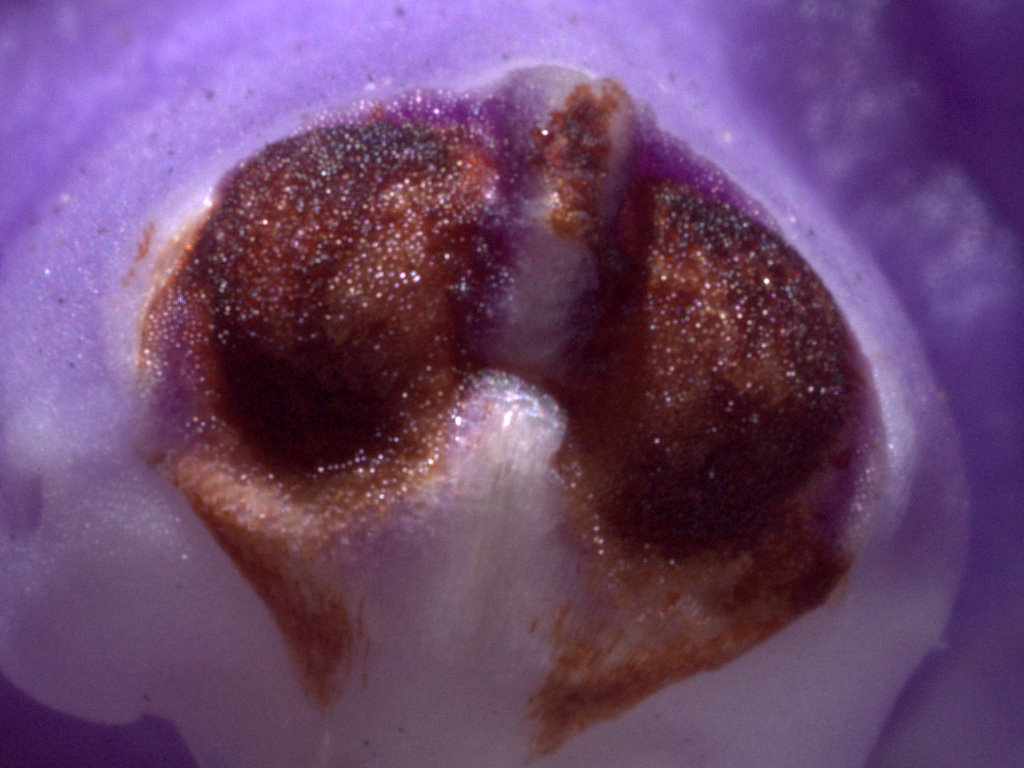
Here now another example using a Vanda coerulea (Blue Vanda orchid) as a target. First a shot using visible light:


This one now in UV, which reveals much more detail:


I find that not only pleasing to see but also interesting from a scientific standpoint that UV light resolves so much more fine detail. This is why UV light is also used in microscopy and to make computer chips. Technology today is down to 248nm and 193nm.

Stay tuned, more will follow on that fascinating subject...

More info on this very interesting field may be found on my site http://www.pbase.com/kds315/uv_photos>

A multispectral example using Mexican Zinnia

Just a few quick shots today using the UV Rodagon 60mm for multispectral analysis in visual light, UV, UV fluorescence and IR. As usual I used a Nikon D70, SB-140 flash w. SW-5UV filter, UV Rodagon 60mm, Baader 2" U- and UV/IR Cut- filter (for UV and UV fluorescence), B+W 092 filter (for IR).

Target was a Mexican Zinna; the little flower head is about 12mm in diameter, i.e. magnification was about 0.5x which still is within the 
design range of that lens. Here now the visual shot:


The UV shot reveals that special pattern this flower shows:


UV fluorescence shows the intensive light of the pollen:


IR finally looks quite transparent:


Quite interesting how the very same flower appears in different wavebands!

Stay tuned, more will follow on that fascinating subject...

More info on this very interesting field may be found on my site http://www.pbase.com/kds315/uv_photos>

Thursday, July 19, 2007

A blue sun? How did that come?

So we humans see with our three channels, Blue, Green and Red. UV (less than 400nm) however we can't see [It has been reported that a few people can see UV and funny enough if I look into my spectrophotometer and turn the knob until I don't see any light anymore, it stops at 330nm?!].

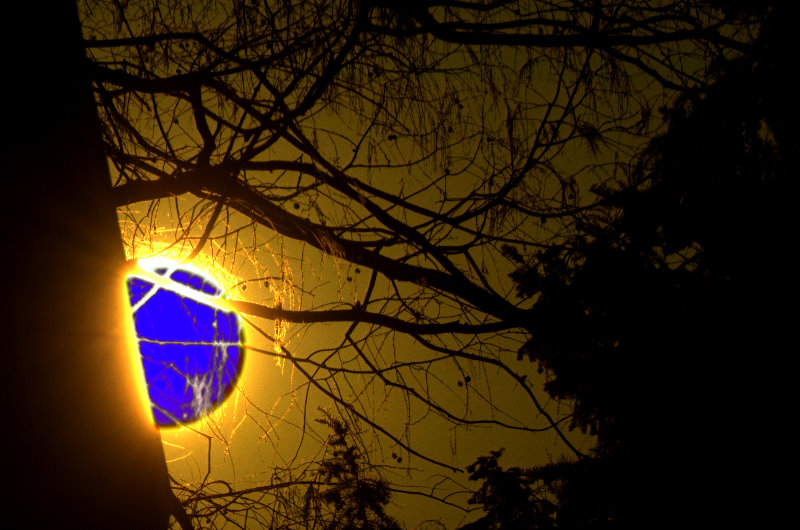
So how would we now display shots we have taken with our expensive quartz lens, UV transmitting filter and UV sensitive digital camera? My idea now was to combine the UV and the visual shot into one image, i.e. to remap the UV "color" space into our blue-to-red visual space - we perform a translation so to speak. I usually map UV as violet/dark blue, just because it is at the "right" end of the spectrum, but that is just my personal preference - and it looks good, at least for me.

How that works, you might ask. We take a shot in UV and combine it with a visual shot in a way that we subtract the UV image from the visual shot after some suitable preprocessing, noise removal, sharpening, contrast enhancement - whatever it needs.

An example for that follows now. This shot has been done using some exotic lens, the 500mm focal length Makowsky Katoptaron TS-E 500 mirror only lens. Dr Makowsky developed that lens many years ago in 1968 using only two suitable Zeiss Schott Quartz (Zerodur) mirrors which project light in a Z-folded light path. A side effect of not using any lenses is the ability of that "lens" (optical system would be more correct) to record from UV to deep into the IR region (up to 4000nm as per data sheet).

Here now the visual shot of a sunset from my balcony:


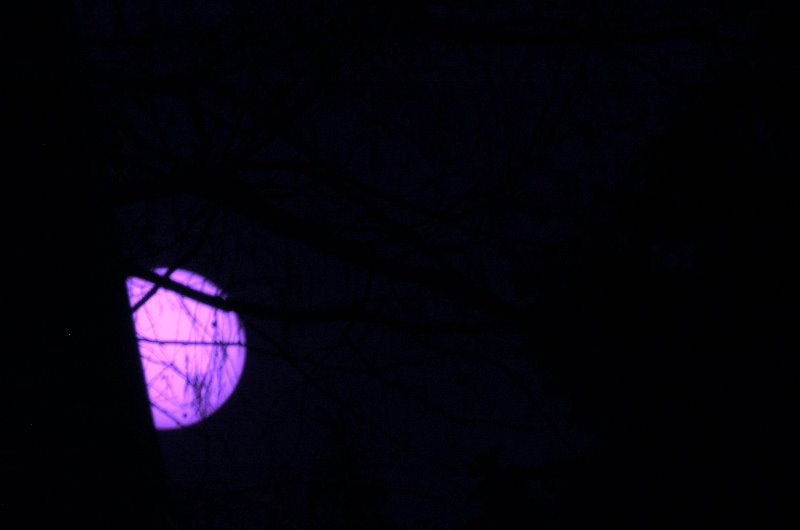
The UV shot however looks very different, like that:
[the "color" you see just respresent the reaction of the built in chip - here a Nikon D70 DSLR - to UV exposure, it is no "real" color...]


So if we now apply the remapping procedure mentioned above, the result is:


So now also the mystery behind my logo has be revealed!

Stay tuned, more will follow on that fascinating subject...

More info on this very interesting field may be found on my site http://www.pbase.com/kds315/uv_photos>

Wednesday, July 18, 2007

Guess which one has been shot using a quartz lens?

This is a test shot to compare a Fluorite/Quartz lens with a "normal" lens ("X135") for UV photography. The shots show one each per row. All done at f8 and using the new 2" Baader U-filter for the UV shots. The images are cropped/sized for about the same size for comparison. Focus was NOT completely identical, so don't use correct focus as as indicator for your guess, look out more for detail, sharpness & contrast.
[I used Nikon D70 + Baader 2" U-filter + X135 lens. UV shot about -10EV compared to VIS shot, identical postprocessing and resize for same appearance due to different focal length]

And your guess for the quartz lens is which one?

Here are two high resolution images if you click on them:


Some more specific shots with decent UV pattern may be seen here now, first the visible light shot:


and the UV shot:


Details (100% crop), first the visible light shot:


and the UV detail shot:


Oh, nearly forgot, the quartz lens is the first row in the first
two images, the second row is that older X135mm lens, I
calibrated for UV shooting. This was also used for all following
shots. The slight disadvantage is, that you focus in visible
light, flip the Baader U filter in front of the lens, make a
focus adjustment to the UV marker (like that red dot
indicating the IR mark) and shoot. Not such an effort if
you can save quite some bucks...

Stay tuned, more will follow on that subject, too...

More info on this very interesting field may be found on my site http://www.pbase.com/kds315/uv_photos>

On EL Nikkors for UV Photography and a Myth

So on technical aspect today. Lenses for UV photography are not easy to come by, are quite expensive ($.$$$ to $$.$$$) and quite a few people search months and years until they find a Nikon UV Nikkor 105mm, Pentax Ultra Achromatic Takumar 85mm or 300mm, Rodenstock UV Rodagon 60mm, Zeiss UV Planar 60mm of for the medium format photographer the Zeiss Hasselblad UV Sonnar 105mm just to mention a few and truely fully chromatically corrected (i.e. without focus shift UV-VIS). There are still two real UV lenses being manufactured, the Coastal Optics Micro Apo 105mm and the Tochigi Nikon UV 105mm. The interested reader might want to find more on those lenses (images, technical data etc.) on my parallel site http://www.macrolenses.de/objektive_sl.php?lang under the "special lens" section. (There are some 300 lenses listed in the macro lens
section, but that is another topic...)

So what's the alternative? Enlarger lenses come to mind and some are indeed not that bad. The older full metal type EL Nikkor 3.5/63mm is claimed to be the best for UV since its data sheet mentions that it may be used down to 350nm. So why not run a buch of similar types through my older spectrophotometer and see how they transmit UV? Ideally we would find a lens which
would transmit 300 - 400nm since that is the range a modern camera chip can resolve (like the Nikon D70 and D40 for instance, Canons don't do that at all) and also modern UV transmissive filters pass, like the Baader 2" U-filter.

Not really surprising the fact that indeed the 63mm does 350nm, but also others do quite the same; the 40mm being a real surprise, but due to the short focal length only useable for macro shots and not for infinity or landscape. But UV transmission is not all,
sharpness, contrast and flare (or the lack thereof) are quite important
aspects, too.

More on that technical part later. So here is the outcome of that test as a table (a click on it opens it in larger size). Cut-off wavelength is understood as the -3EV level compared to 100% transmission at 425nm (my subjective setting), so all these are relative values.


BUT be forewarned, all these EL-Nikkor lenses mentioned here, show substantial focus shift when used for UV photography, a fact which usually isn't mentioned but which makes working with them often a try-and-error game. Not really for the serious UV shooter, more a beginners lens to test the waters.

Now if you want an affordeable lens for shooting UV, I have developed a series of useful lenses with quite good UV transmittance and performance. I call them the X-lenses, the X135 being the most used one (f=135mm). A comparison with the UV Nikkor 105mm may be found here. Just do a search for X135 if you want to know more about that one or the X35 (f=35mm, a wide angle for UV) or X90.

Stay tuned on technical aspects, more will follow on that too...

More info on this very interesting field may be found on my site http://www.pbase.com/kds315/uv_photos>
On Fluorescence Photography

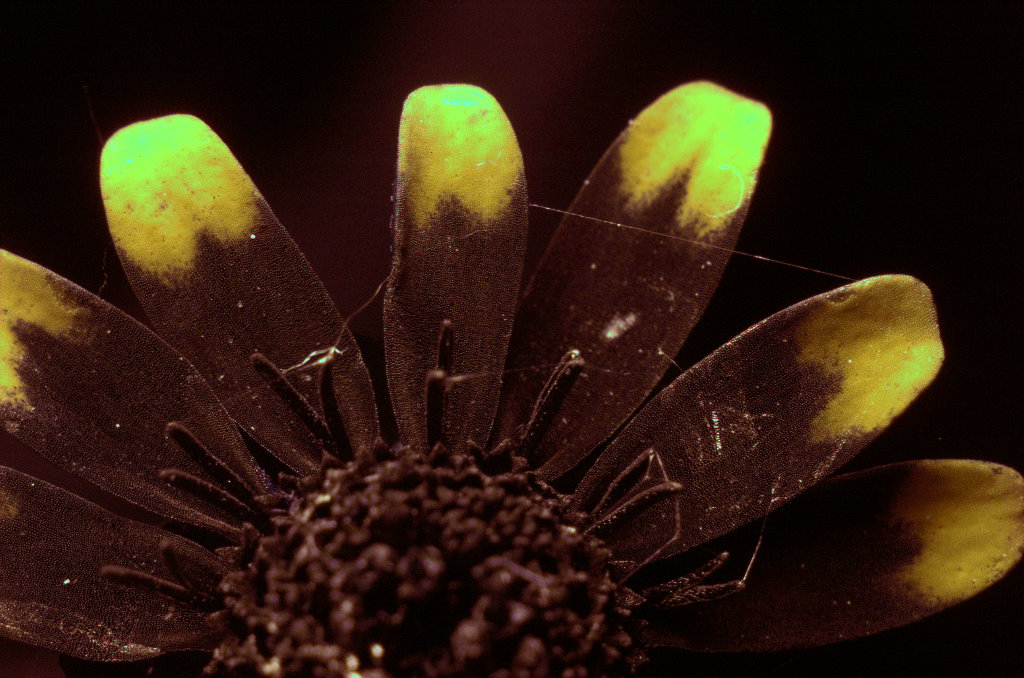
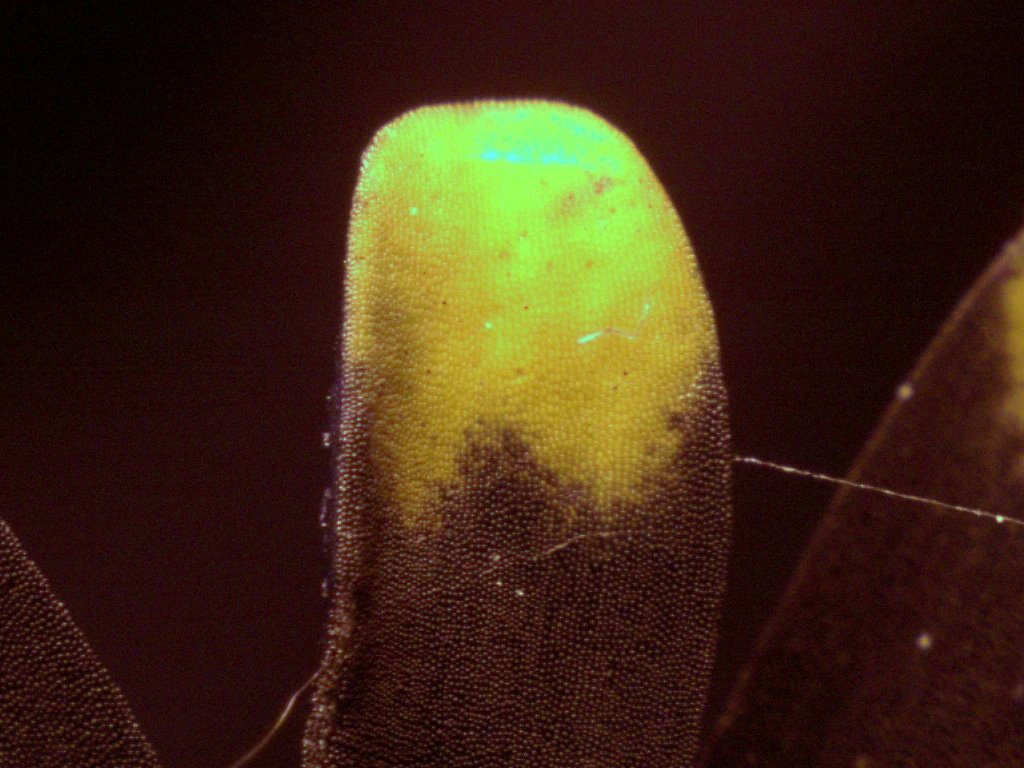
Taking shots of flowers esp. close up I noticed that pollen seems to somewhat lighten up. So I made a test using a UV flash, but had a UV-blocking filter (Baader UV/IR Cut filter) in front of my taking macro lens. It gets quite obvious, that at least some flowers use the energy in UV light to enhance the brightness of their pollen to make it more visible to insects - their pollinators.

Here some macro shots I did using the 2" Baader-U for the UV shots and 2" Baader UV/IR Cut filter for UV-Fluorescence. The fluorescent pollen get clearly visible.

Some examples for that follow. Here the visual shot first:
(click on images to get larger (1024 pix) images)


The UV shot however looks very different and since the pollen looks quite dark, this means that the UV energy gets absorbed by the pollen. So where does it go to? It gets transformed (maybe just partly) into visual light.


So if we now use the UV cut filter for that African Daisy, this is made visible:


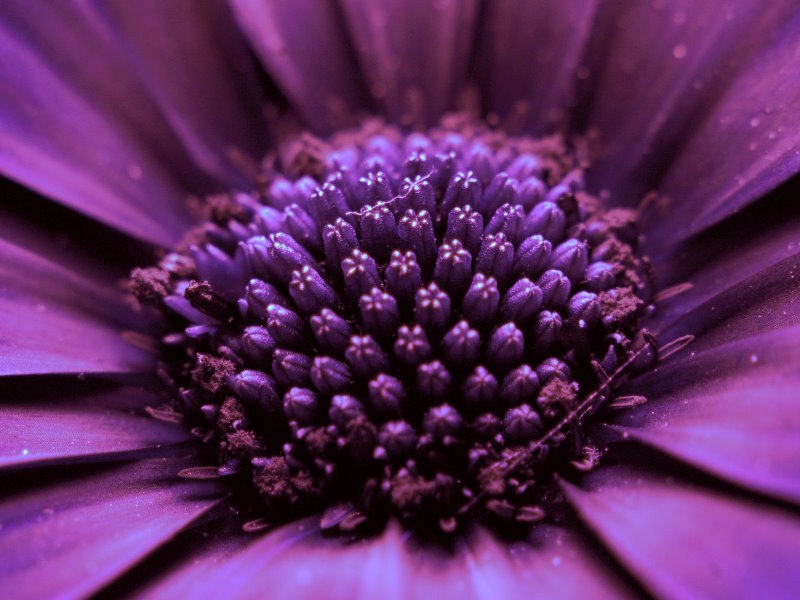
So this is another trick what flowers do to attract pollinators. Here an even closer macro shot of that:


Another example of a multitude of ideas nature has applied.

Stay tuned, more will follow on that fascinating subject...

More info on this very interesting field may be found on my site http://www.pbase.com/kds315/uv_photos>
Tuesday, July 17, 2007

Ever wondered how Bees might see a flower?

So we humans see three channels, Blue, Green and Red. Bees however can see UV (what we can't), Blue and Green. So if we take a shot in UV and combine it with a visual shot were only the Blue and Green information is used, we can synthesize how Bees see the world - in priciple. The problem is, that we can't see UV so that has to be "translated" into our color space.

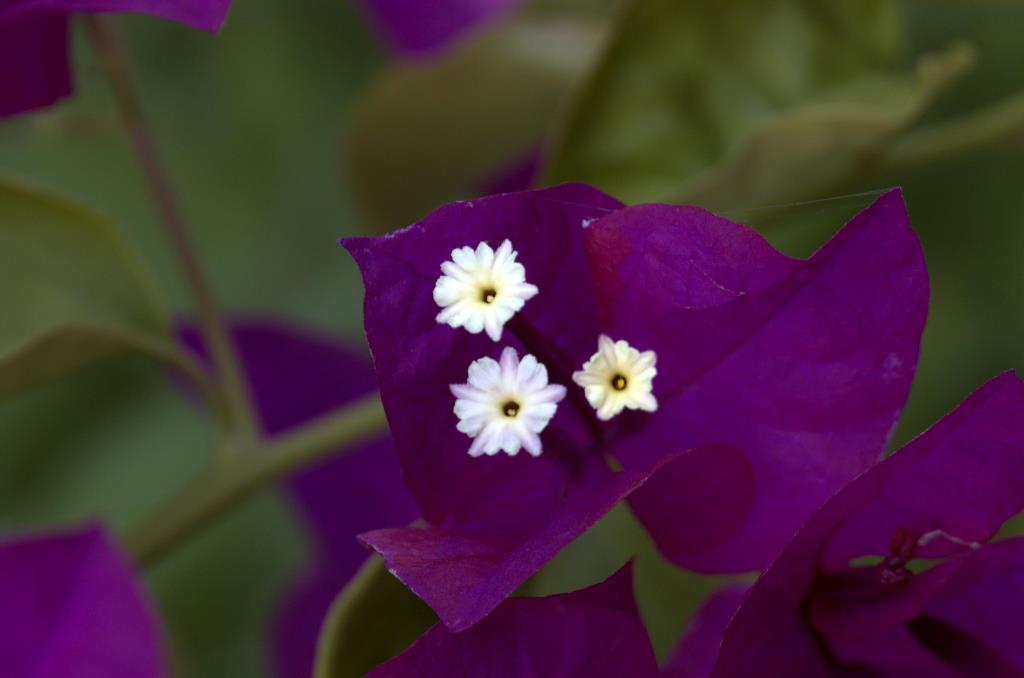
Some examples for that follow. This is a well known plant, Bougeanvillea. Here the visual shot first, click on images to see larger files (1024 pix):


The UV shot however looks very different, like that:


So if we now apply the procedure mentioned above, the result is:


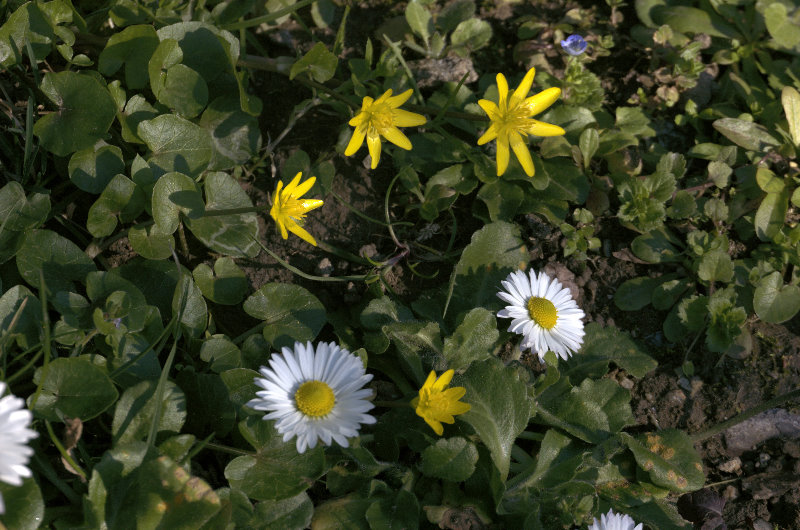
Here now another example, a shot just around my house on a path along the road taken this spring. In visual light this looks like that:


And in UV like that:


Bees however will see that (or what I think looks like what Bees see...).


So maybe now we understand a bit more what flowers do to attract pollinators. This is just one example of a multitude of ideas nature has applied.

Stay tuned, more will follow on that fascinating subject...

More info on this very interesting field may be found on my site http://www.pbase.com/kds315/uv_photos>