*** DO NOT TRY TO REPLICATE THAT HERE, if you don't know exactly what you are doing, as it may harm your eyesight!! ***
Let me explain what I did a bit further: First one starts looking in the visible at the flower (and taking a normal photograph to document that for comparison reasons), then a UV transmitting filter stacked with that mentioned UV transmitting diopter lens is held in front of one eye, shielding all the natural light around. Let the eye adapt to darkness and then UV image starts to form. I use an UV LED to enhance the then visible UV image. Then I attach to my UV sensitive camera an UV transmitting filter and record in similar fashion what I have seen. Use these two images side-e-side as a diyptych to present the differences - this is what I have done here. It is a comparison side-a-side, is is NOT concurrently seen. What I have additionally done is experiment with various UV transmitting filters until I found one that closely records what I have seen in UV, that's the now called XHUV filter. Plus I added an UV transmitting calcium fluoride diopter lens and the UV image is then sharply focused.
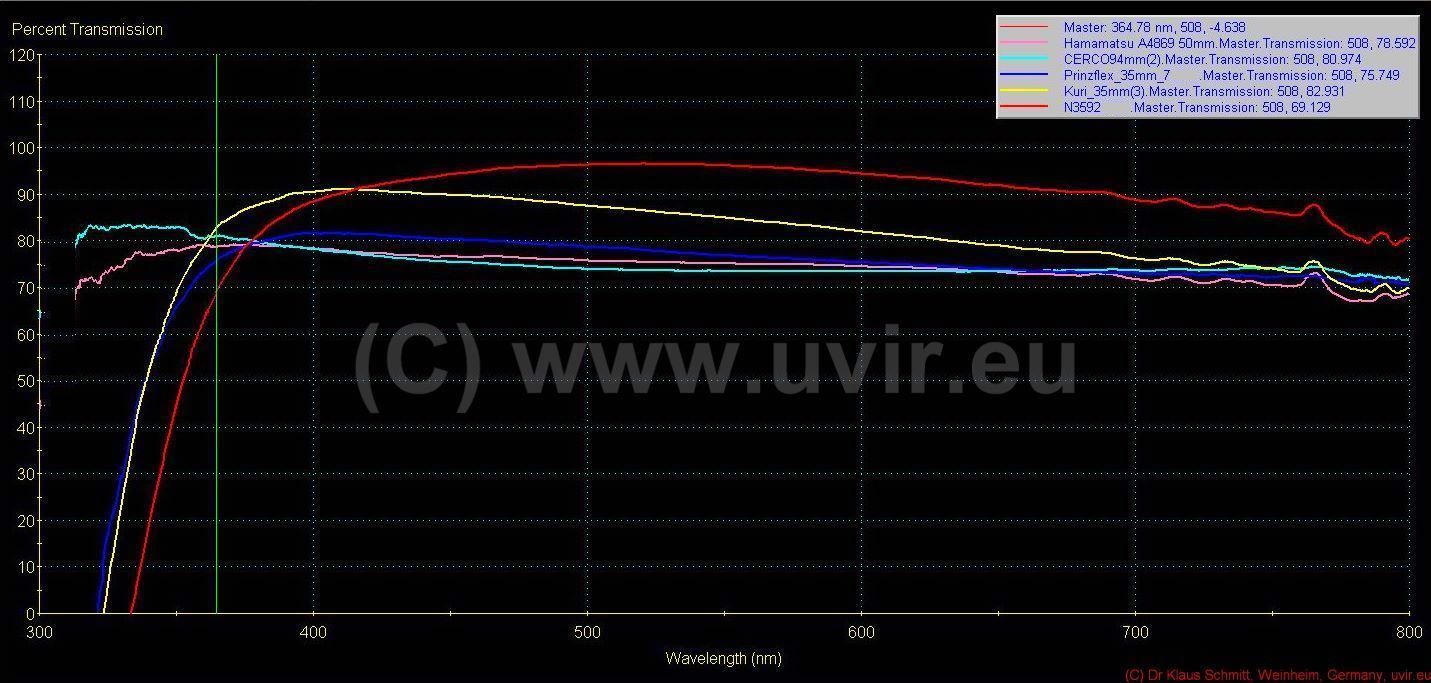
Lens was a Hamamatsu 50mm quartz fluorite lens. Light source for photography was a UV enhanced Xenon flash, for the human tests sun and a UV LED. All photographic shots were done at about f8.
[click on image to see a larger one]
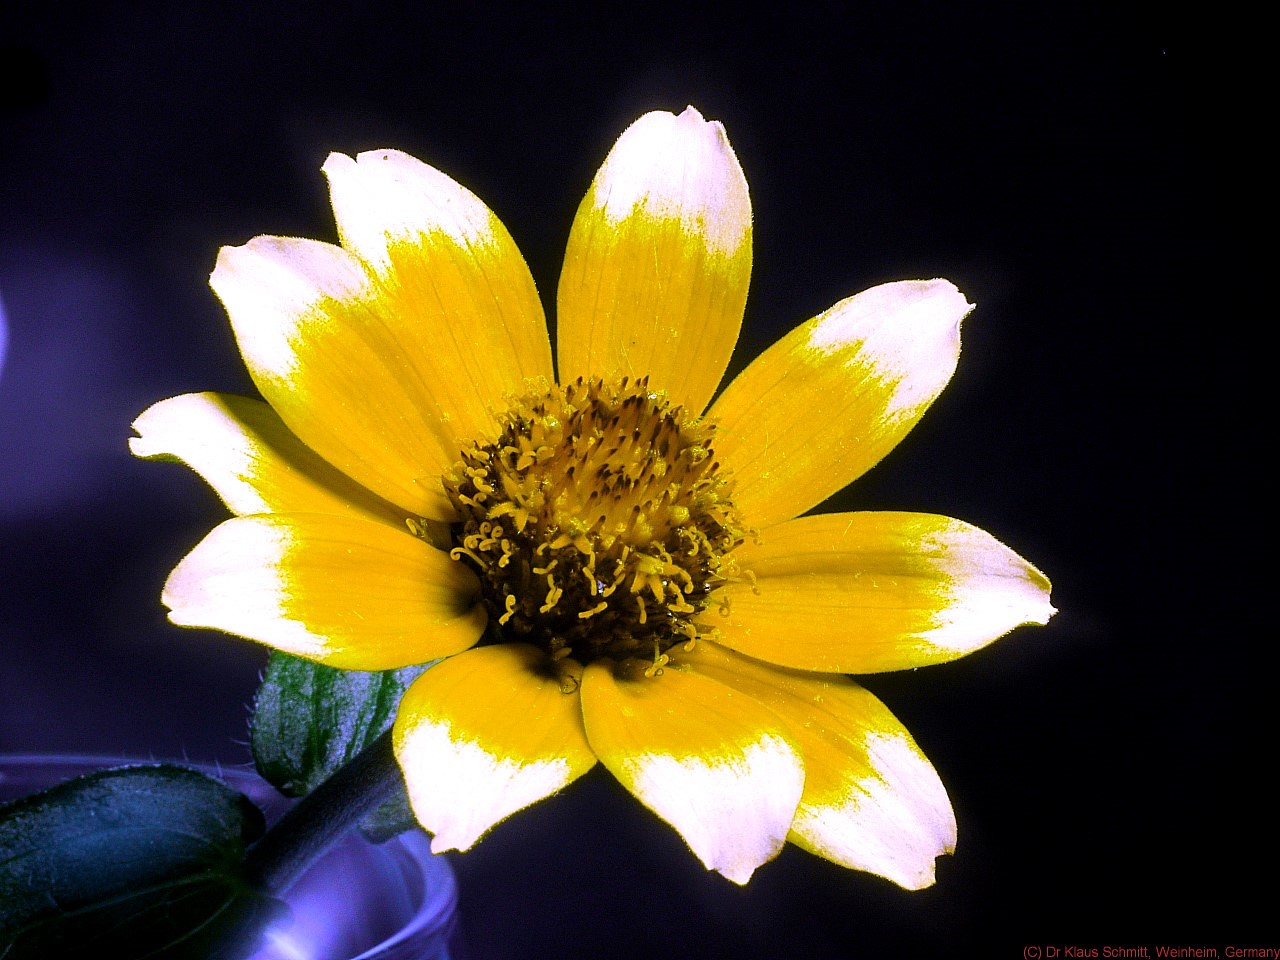
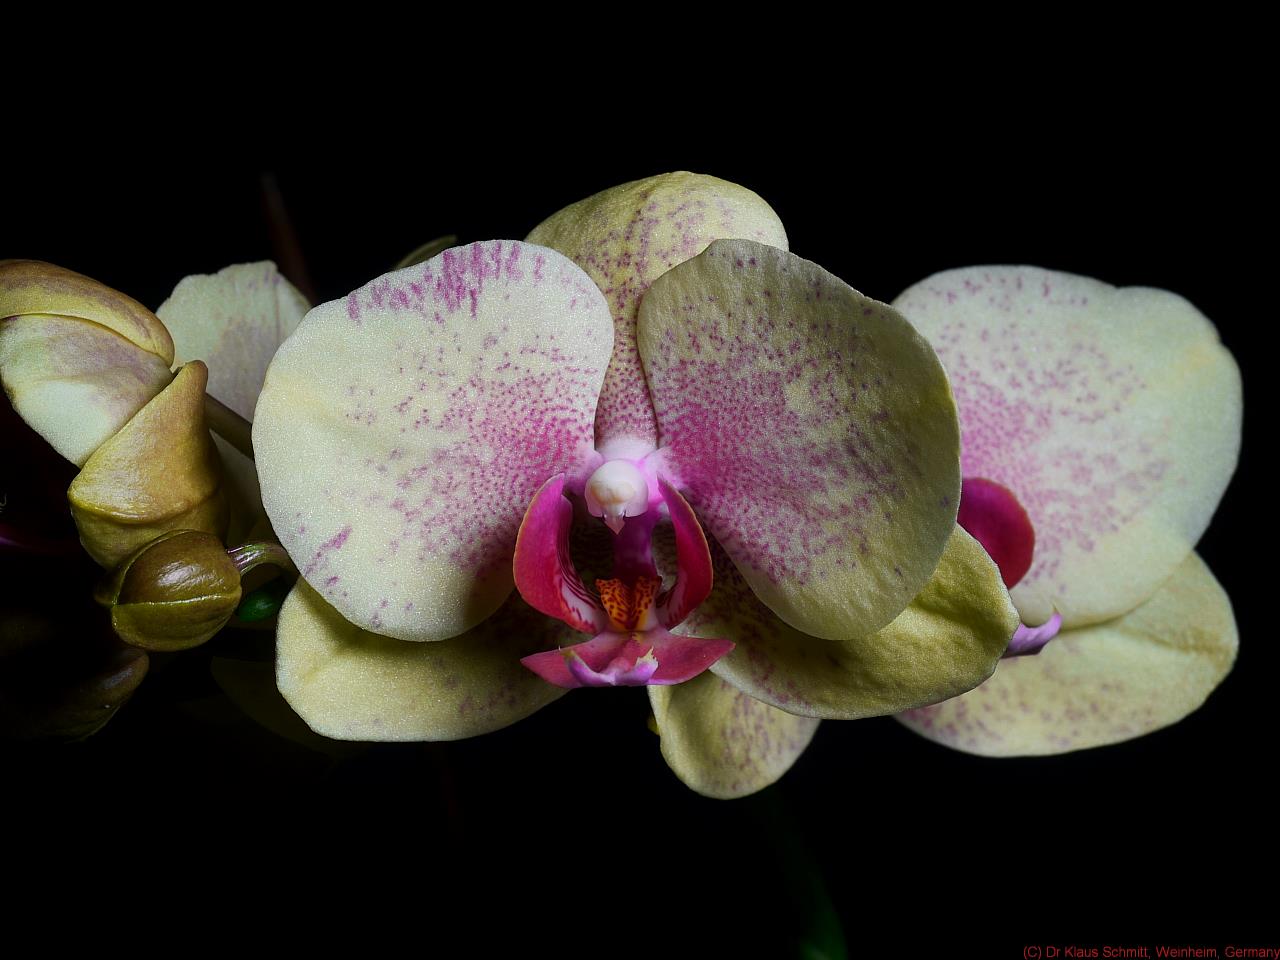
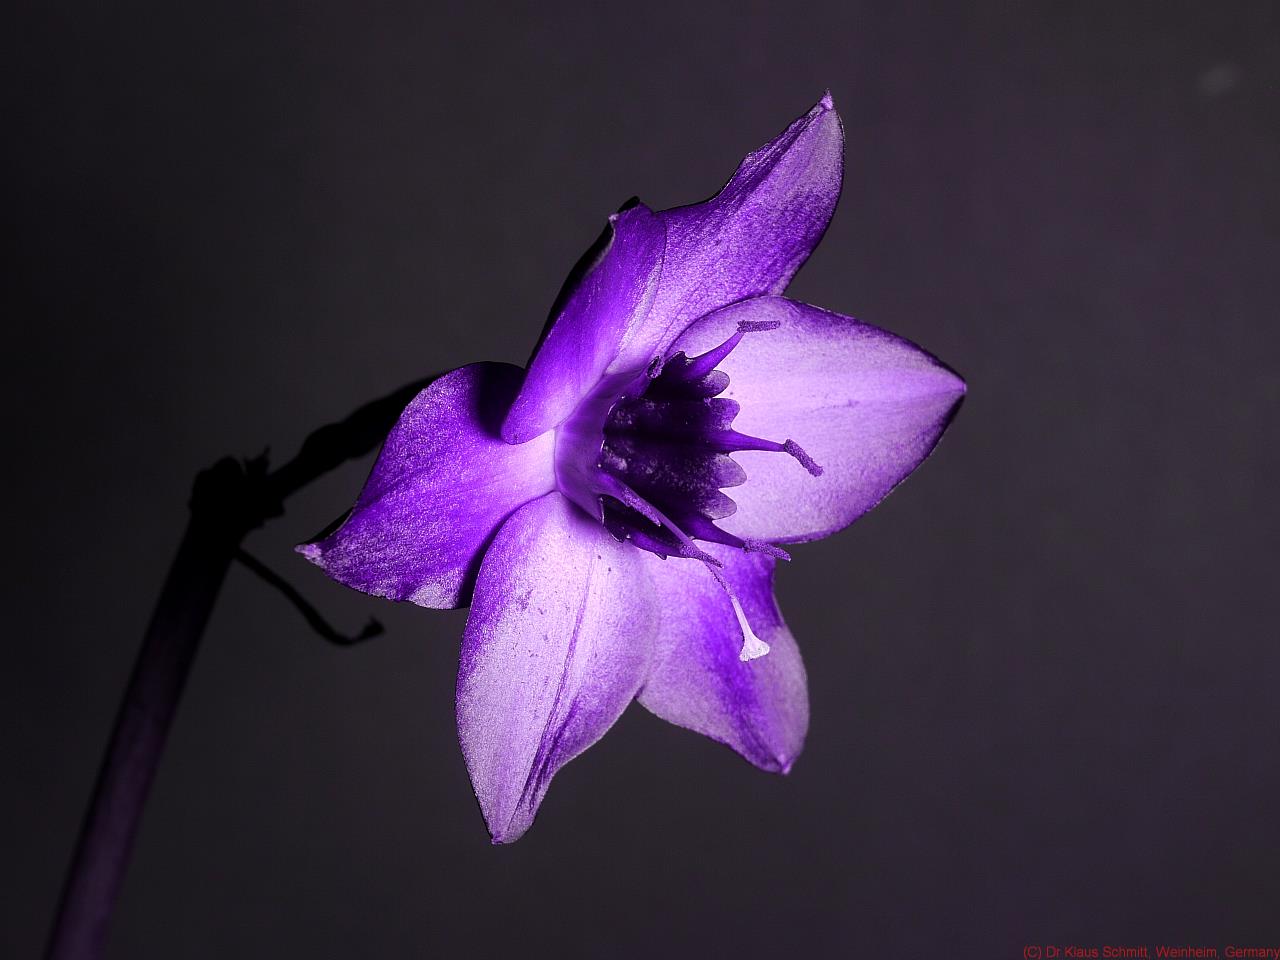
Visible light image, identical to how I see it (only for comparison):

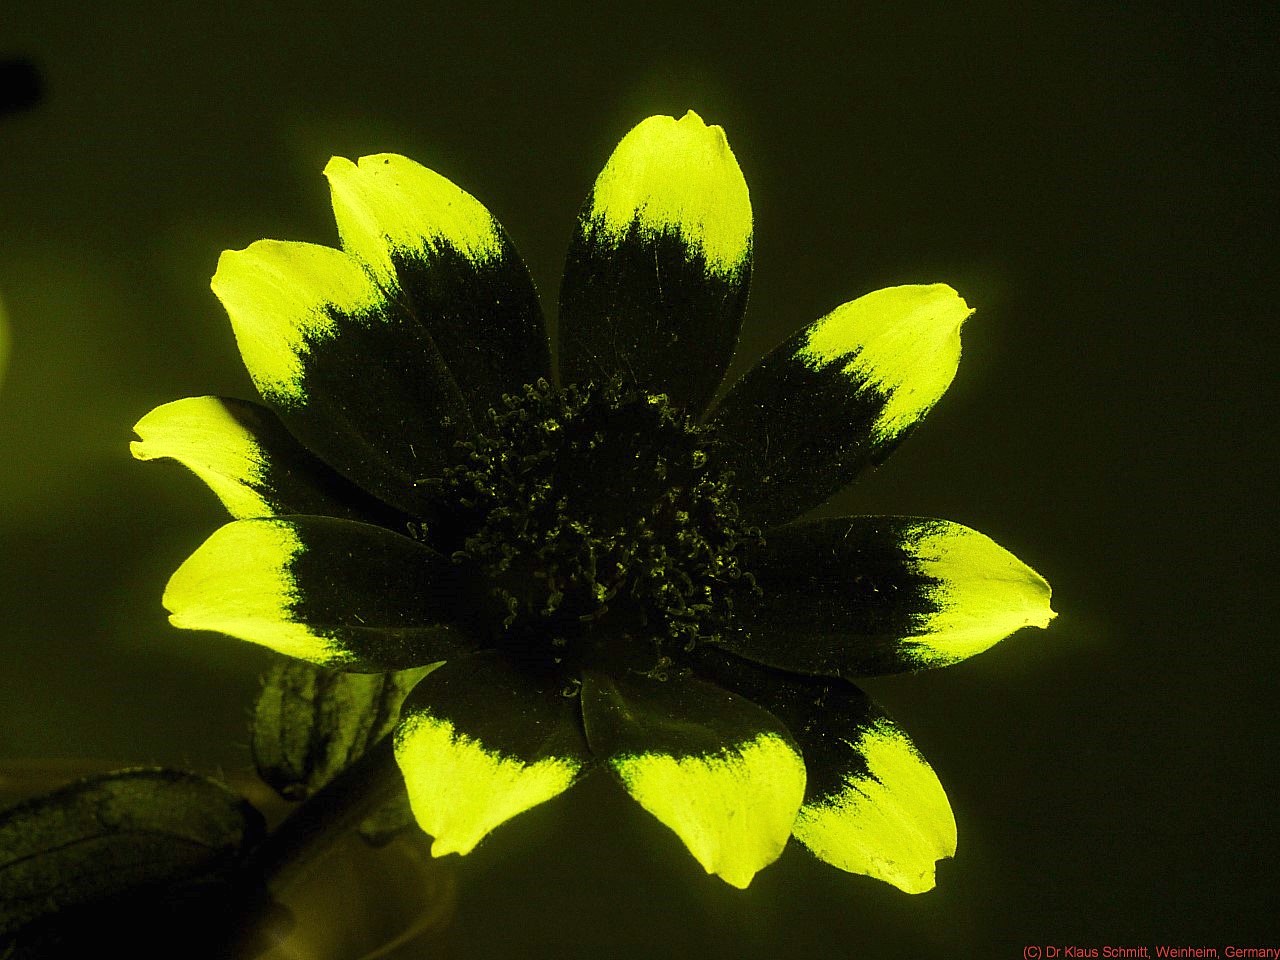
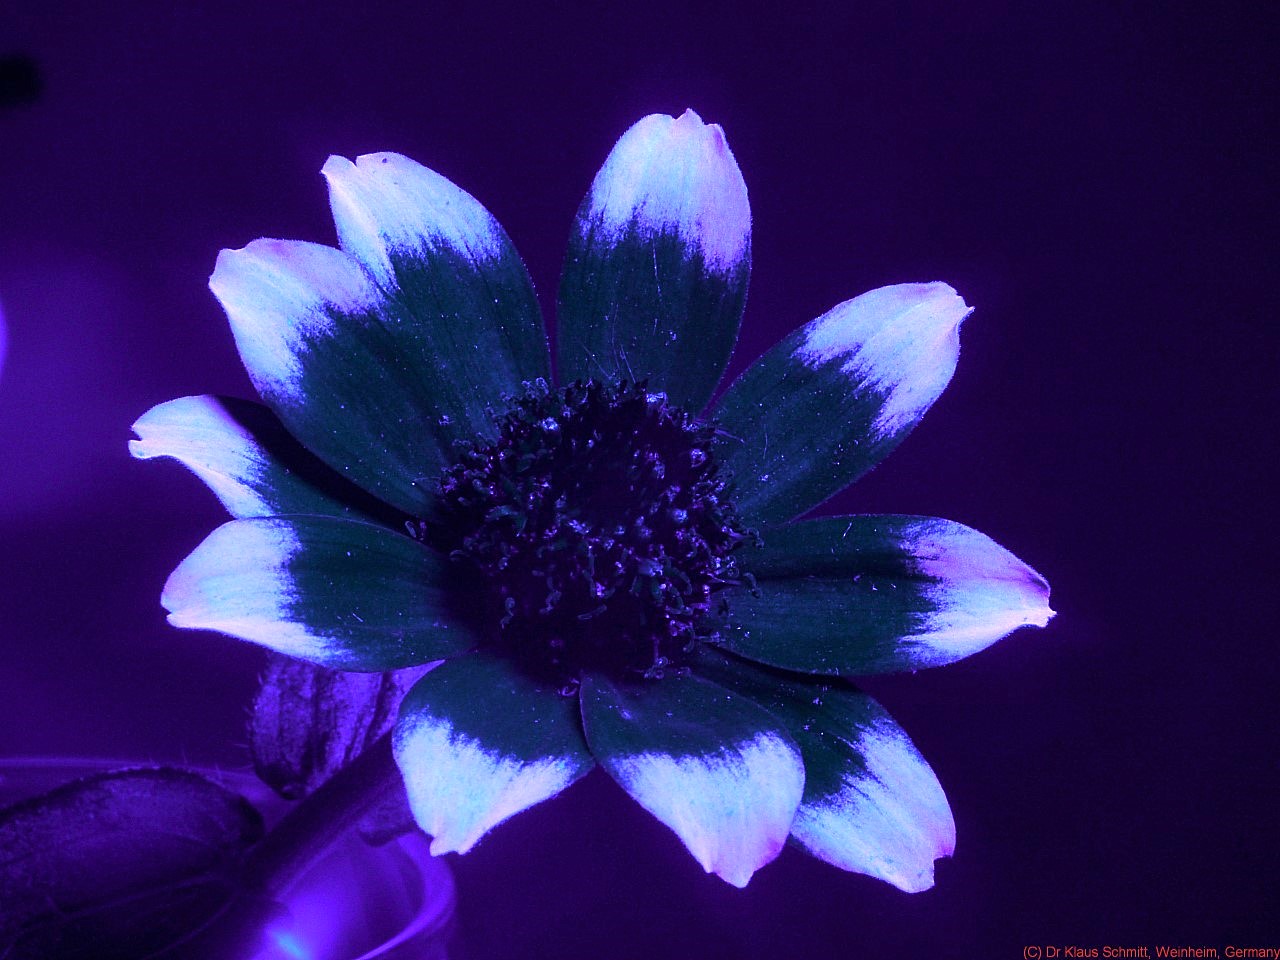
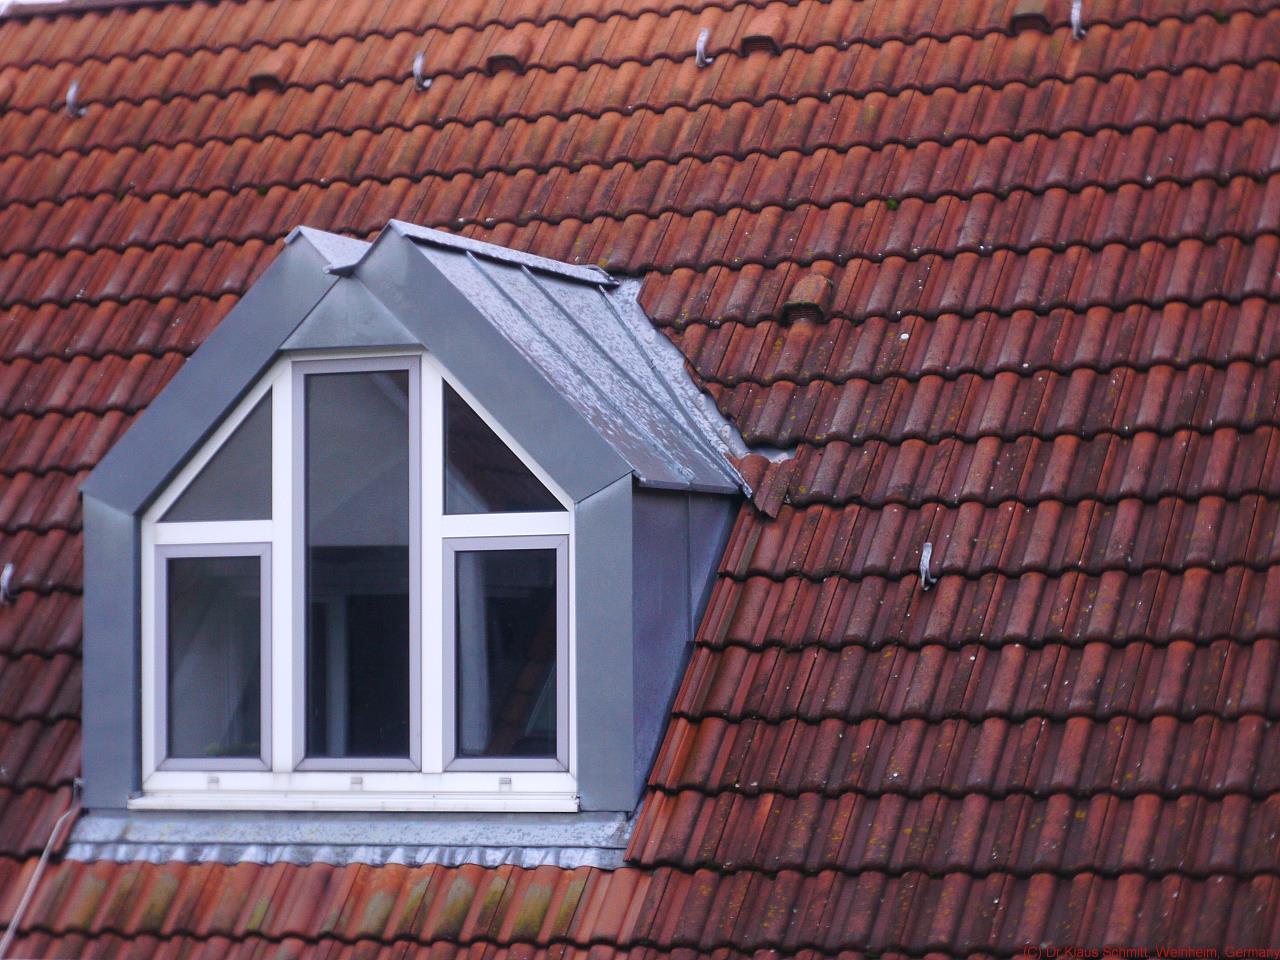
UV image using XHUV filter as my camera sees it, simulating how I saw it before (including the blurriness as I could not get sharp UV focus):

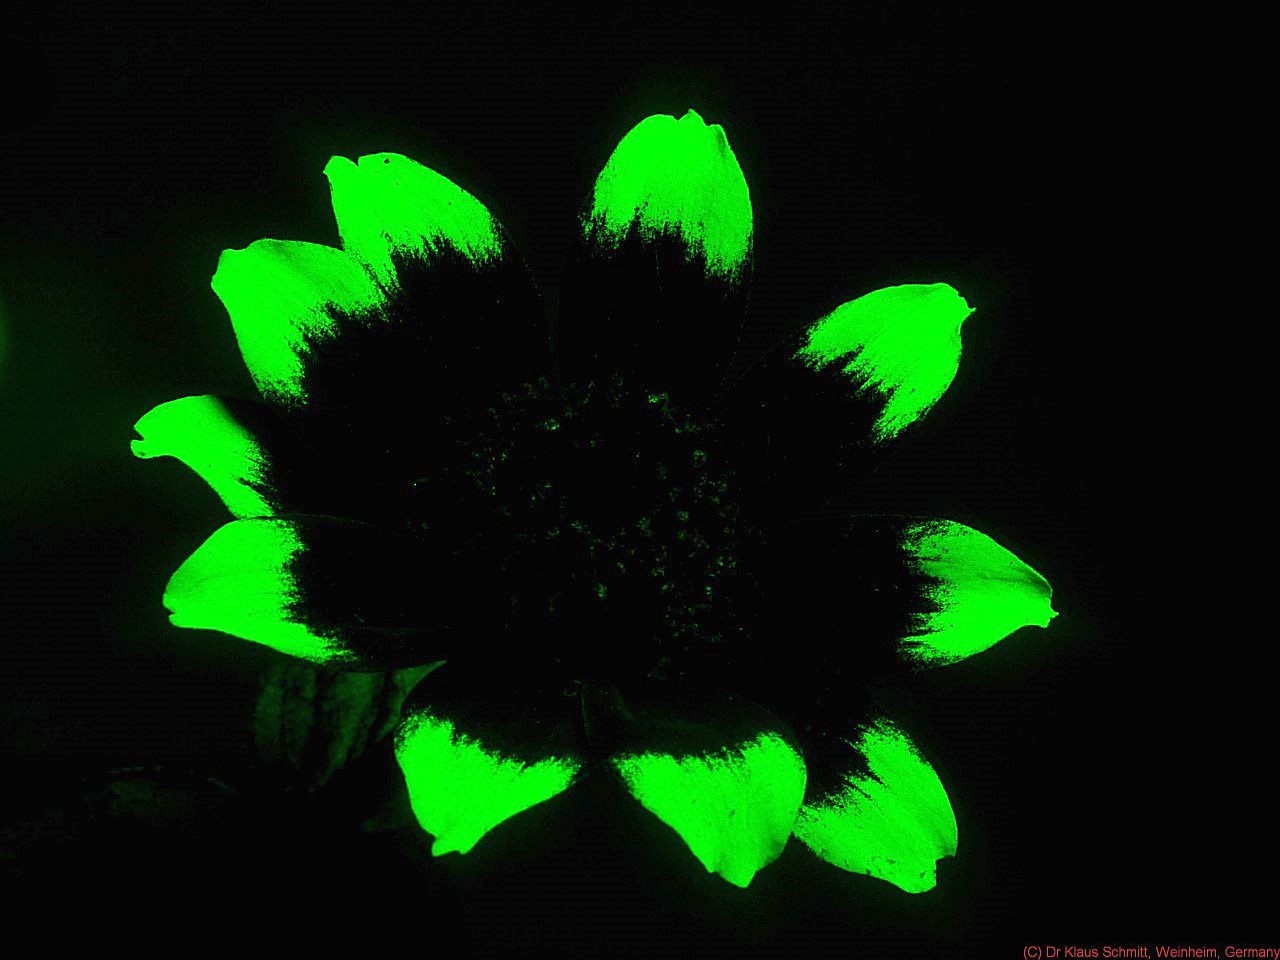
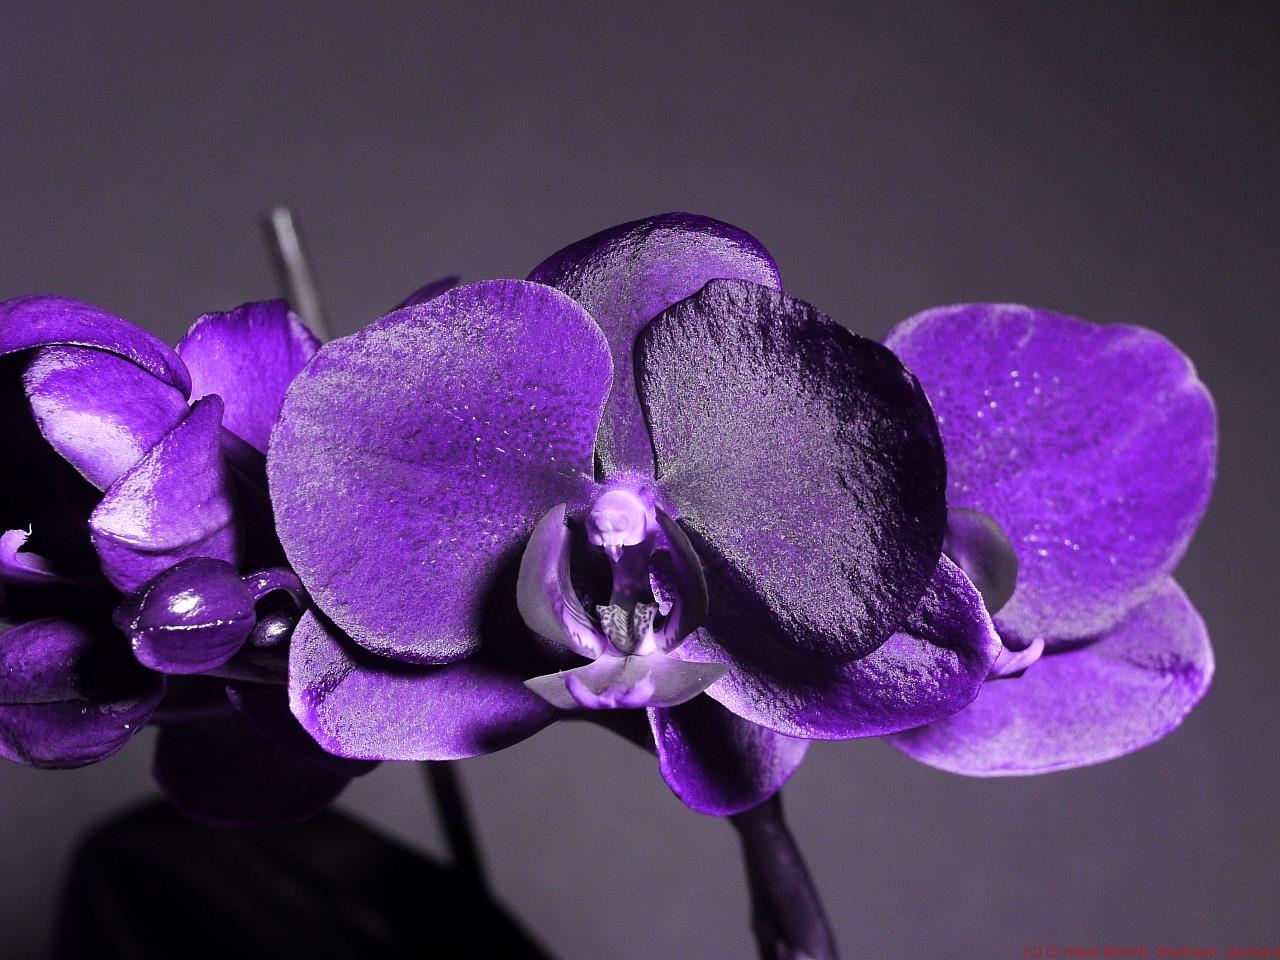
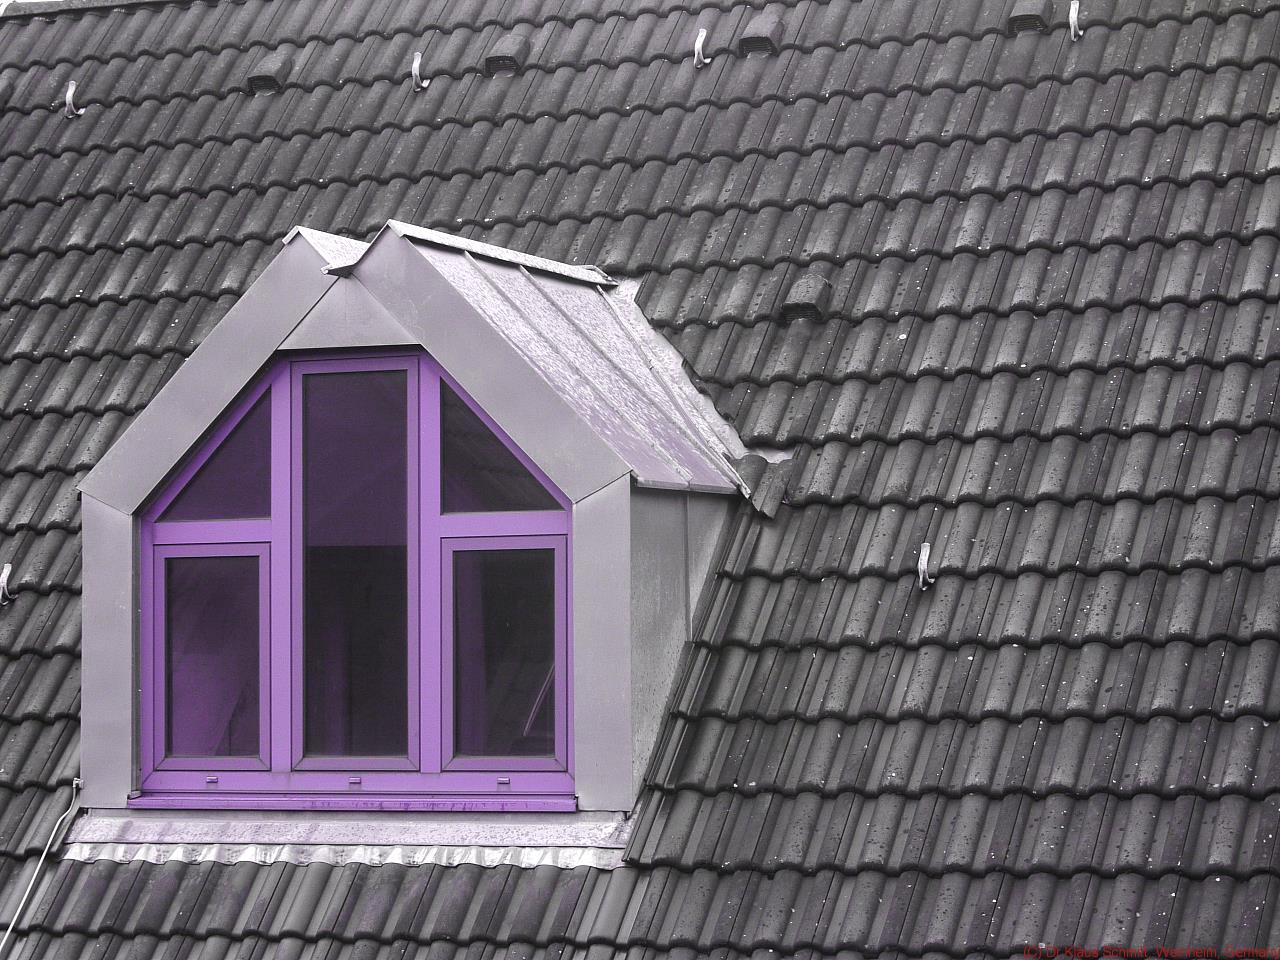
UV image using XHUV filter as my camera sees it, simulating how I see it now (including that calcium fluoride diopter lens, now yielding sharp UV focus):

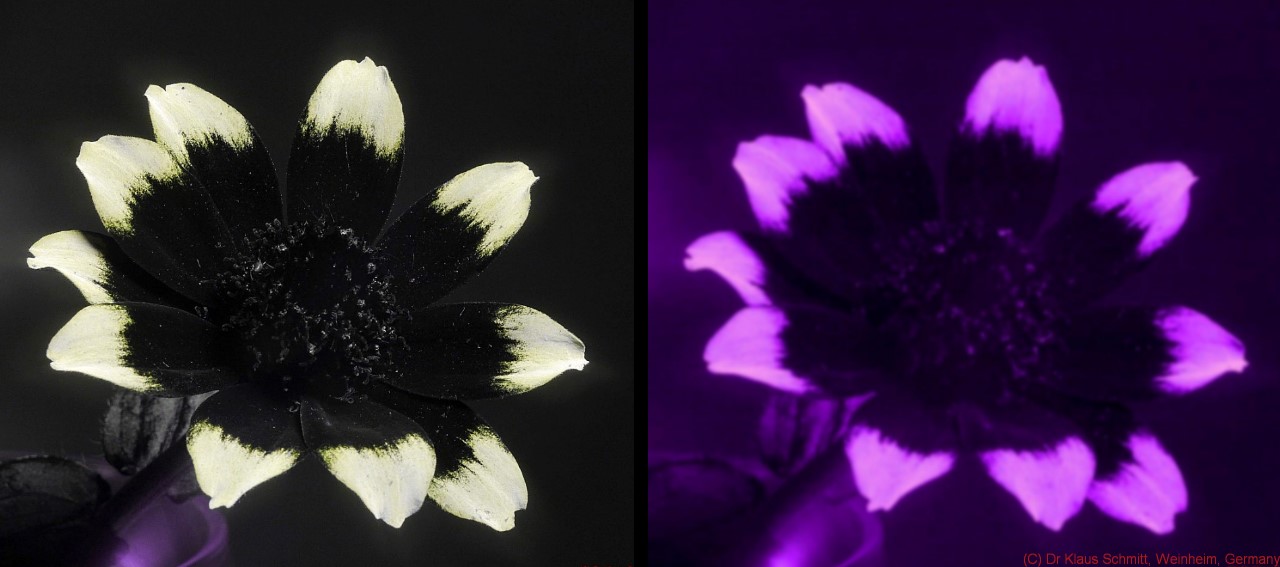
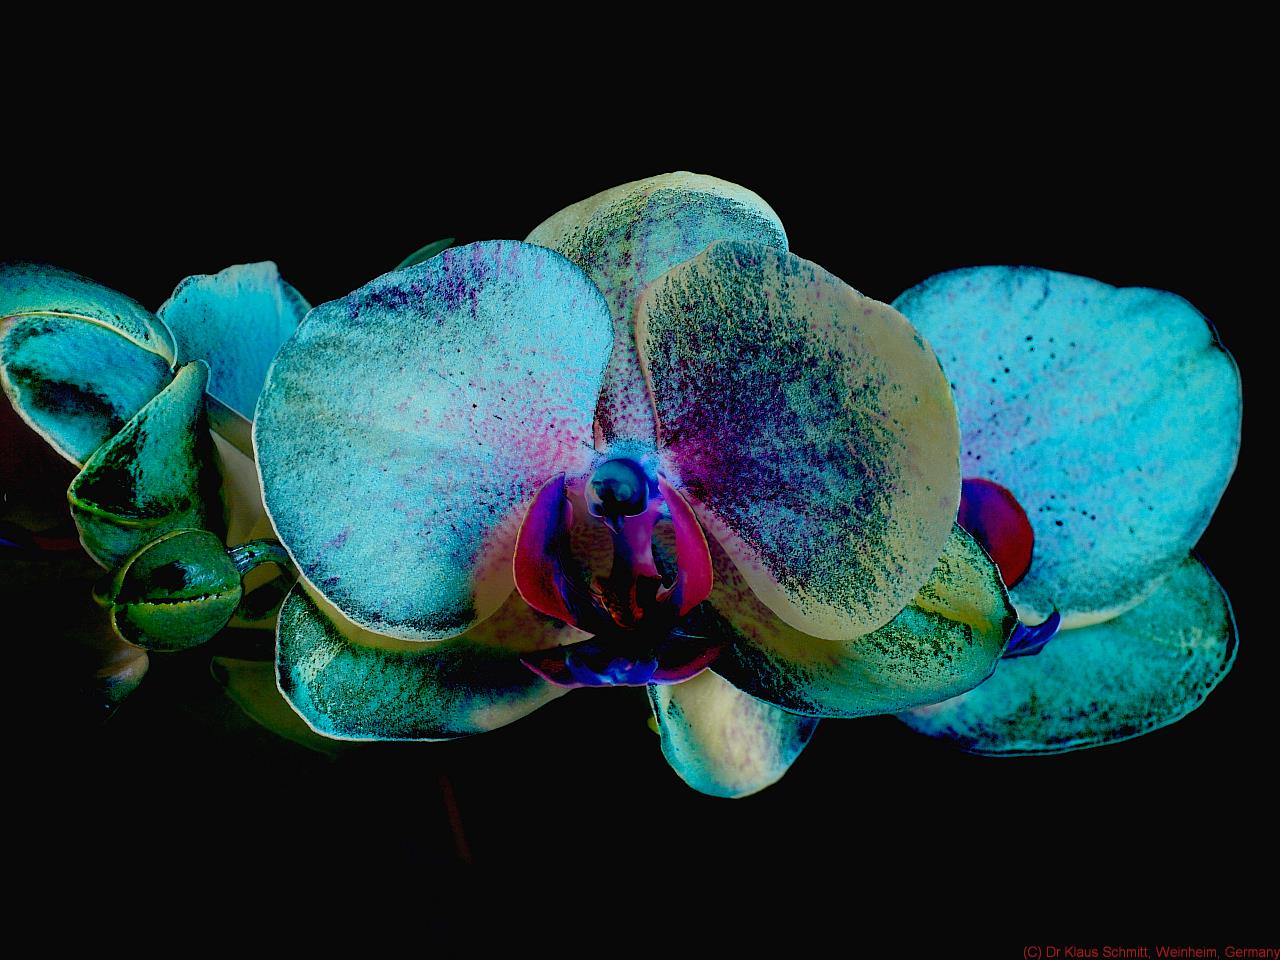
Diptych to compare camera simulated human UV image before (left) and after (right) calcium fluoride diopter use:
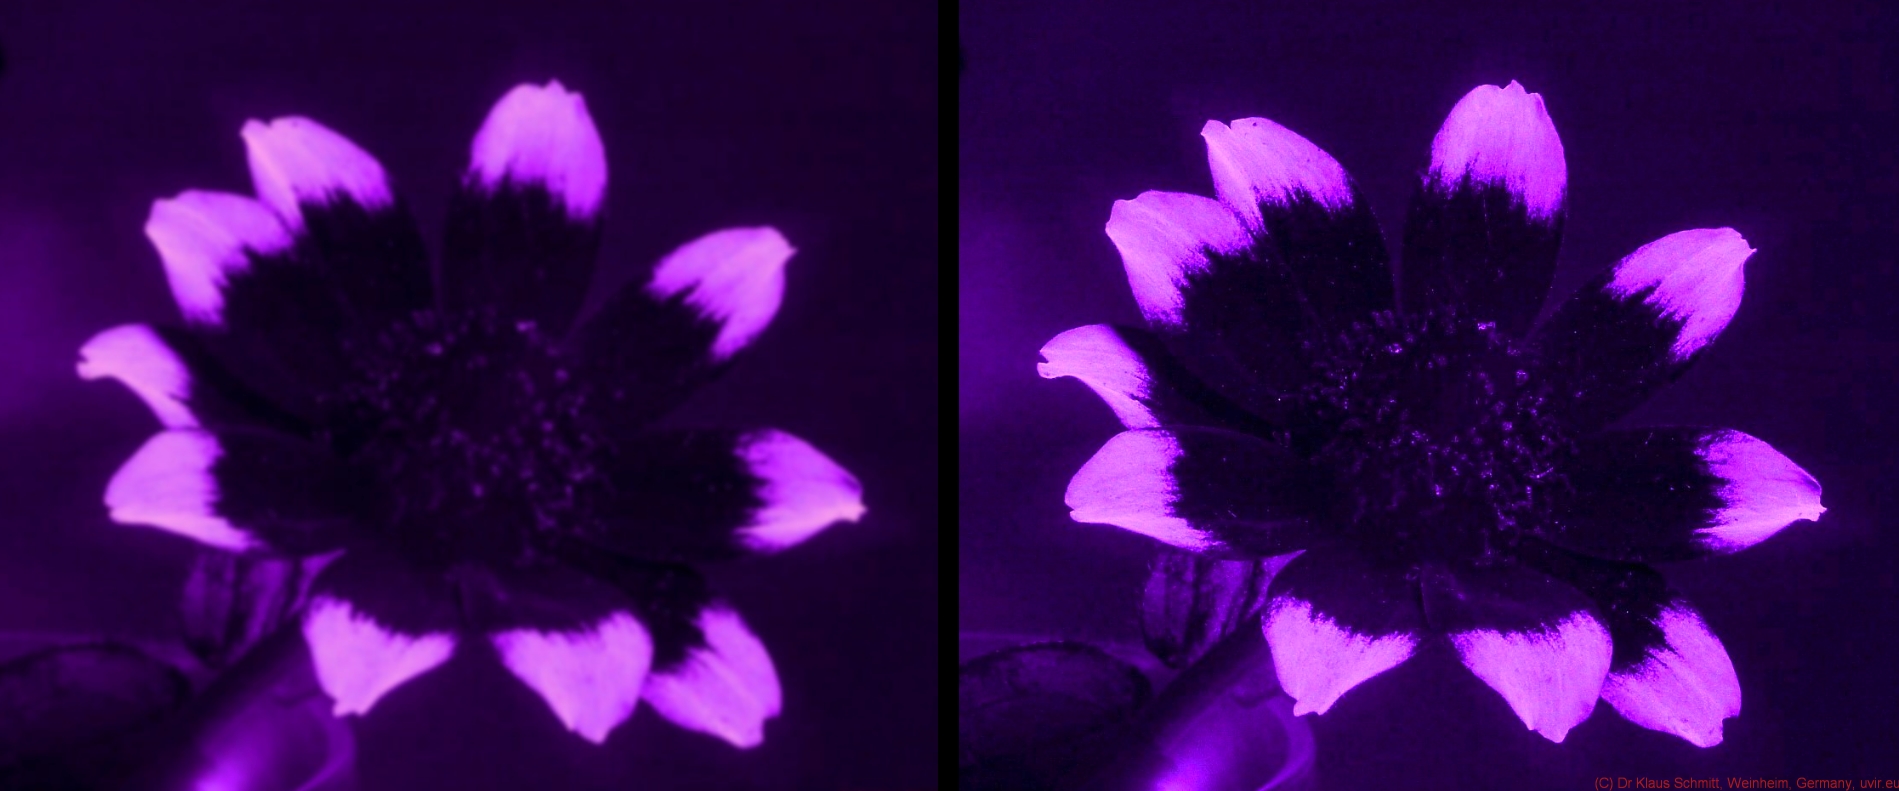
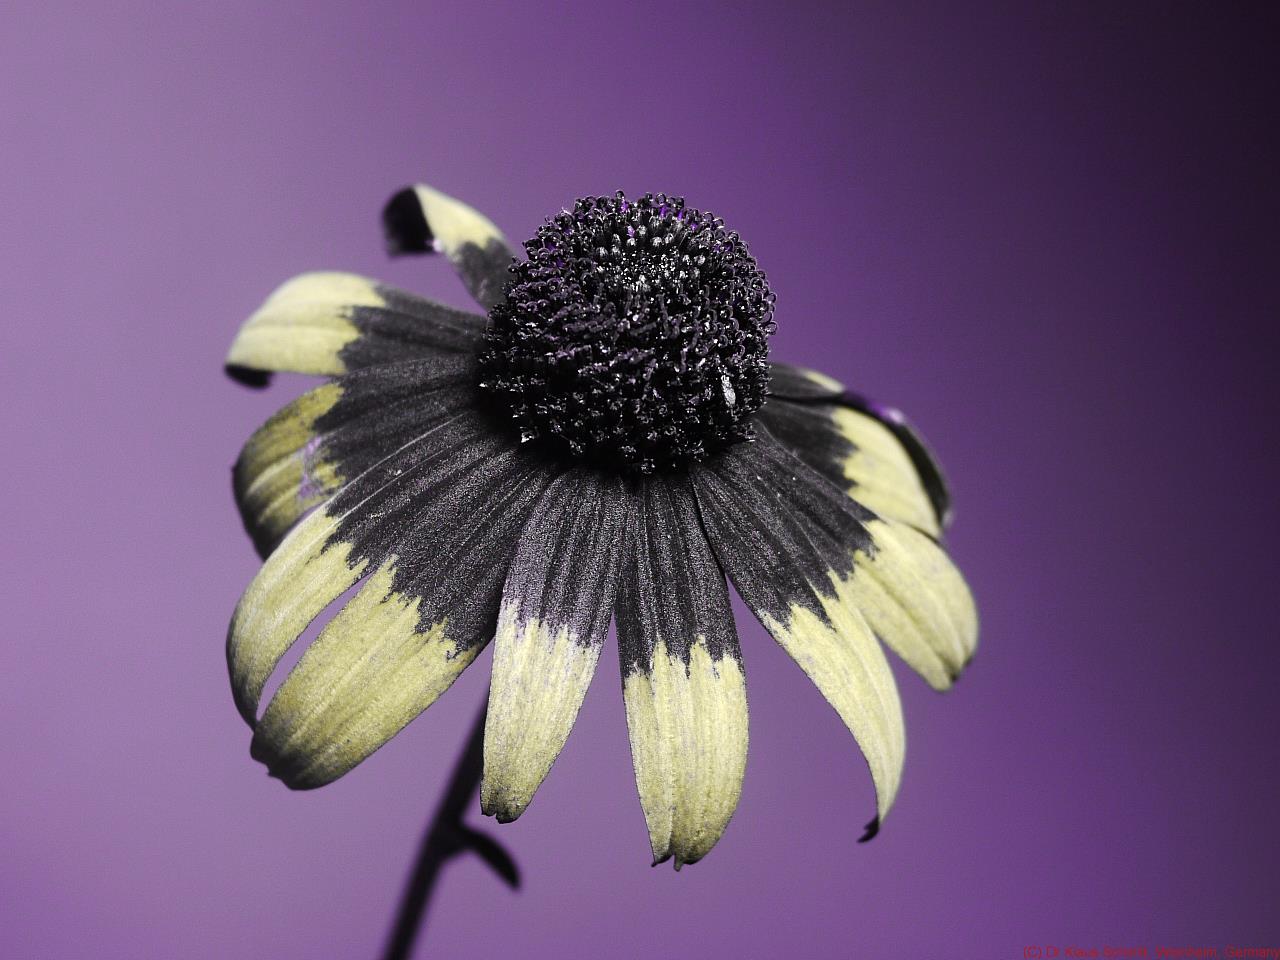
Mexican Zinnia flowers have a very specific UV pattern, its petal tips are very UV bright and teh center is quite dark. Hence why I used that to test out what I am able to see looking through an UV transmitting filter and then simulate that using my UV sensitive camera using the XHUV filter. I hope all this gets nicely visible.
*** Again: DO NOT TRY TO REPLICATE THAT HERE, if you don't know exactly what you are doing, as it may harm your eyesight!! ***
I have written previously about this HERE.
Stay tuned, more will follow on that fascinating subject...
More info on this very interesting field may be found on my site http://www.pbase.com/kds315/uv_photos