Showing posts with label high power flash. Show all posts

Tuesday, April 28, 2020

Enhancing the visibility of fossil tissue structures using UV reflected and UV stimulated visible flourescence photography II

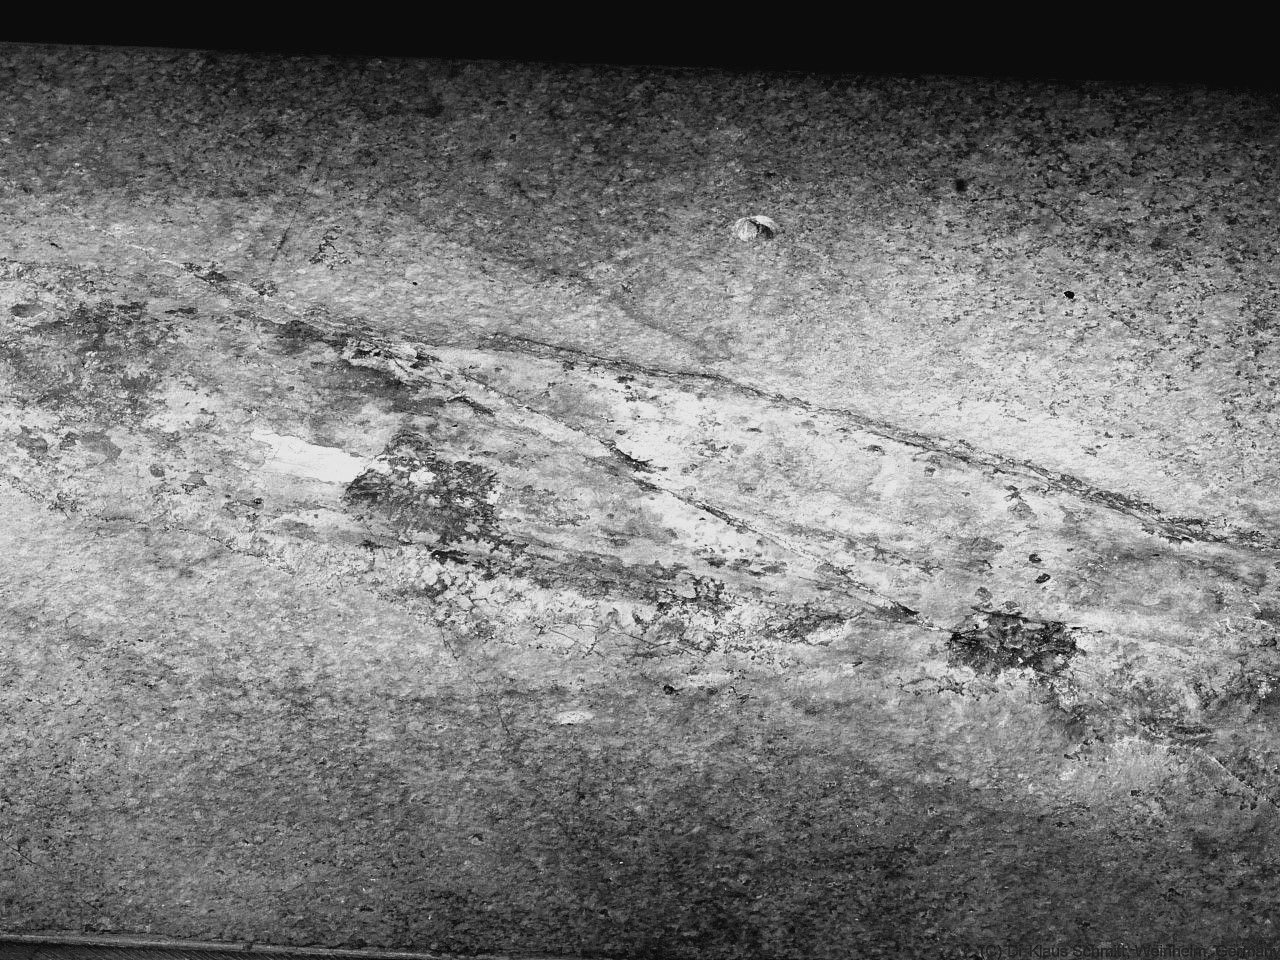
A while ago I had the honor to work with Neal Larson on a paper on fossilized cephalopods found in Hajoula, Lebanon. Today it is again about enhancing the visibility of fossil bone and tissue structures using reflected UV and UV stimulated visible fluorescence photography, but as it is some years later, using more modern equipment now. Lens used was my UV-Nikkor 105mm quartz fluorite lens, light sources were a modified high power Xenon flash, as well as a NICHIA 365nm LED. Filters used were the Baader-U filter as well as a 420nm Long Pass filter. Target was a fossilized squid from the Upper Cretaceous period, approx. 90 million years old.

[click on image to see a larger one]

Visible light image using UV/IR Cut filter:


Reflected UV image using Baader-U filter (310-390nm) with 365nm UV LED: 


Reflected UV image using Baader-U filter (310-390nm) with 365nm UV LED (in bw):


UV stimulated visible Fluorescence image with 420nm Longpass filter: 


UV stimulated visible Fluorescence image, 2nd version, with UV-IR Cut filter:


It gets nicely visible that using UV light photography brings out much more details than normal visible light photography and by doing so, enhances the visibility quite a bit.

I have written more about fossils HERE

Stay tuned, more will follow on that fascinating subject...

More info on this very interesting field may be found on my site http://www.pbase.com/kds315/uv_photos

Sunday, November 16, 2014

Enhancing the visibility of fossil tissue structures using UV reflected and UV stimulated visible flourescence photography

A while ago I had the honor to work with Neal Larson on a paper on fossilized cephalopods found in Hajoula, Lebanon. Today it is again about enhancing the visibility of fossil bone and tissue structures using UV reflected and UV stimulated visible fluorescence photography, but as it is some years later, using more modern equipment now. I will also use my remapping technology consisting of a visible image, a reflected UV image and an UV stimulated visible fluorescence image and combine them into multispectral images.

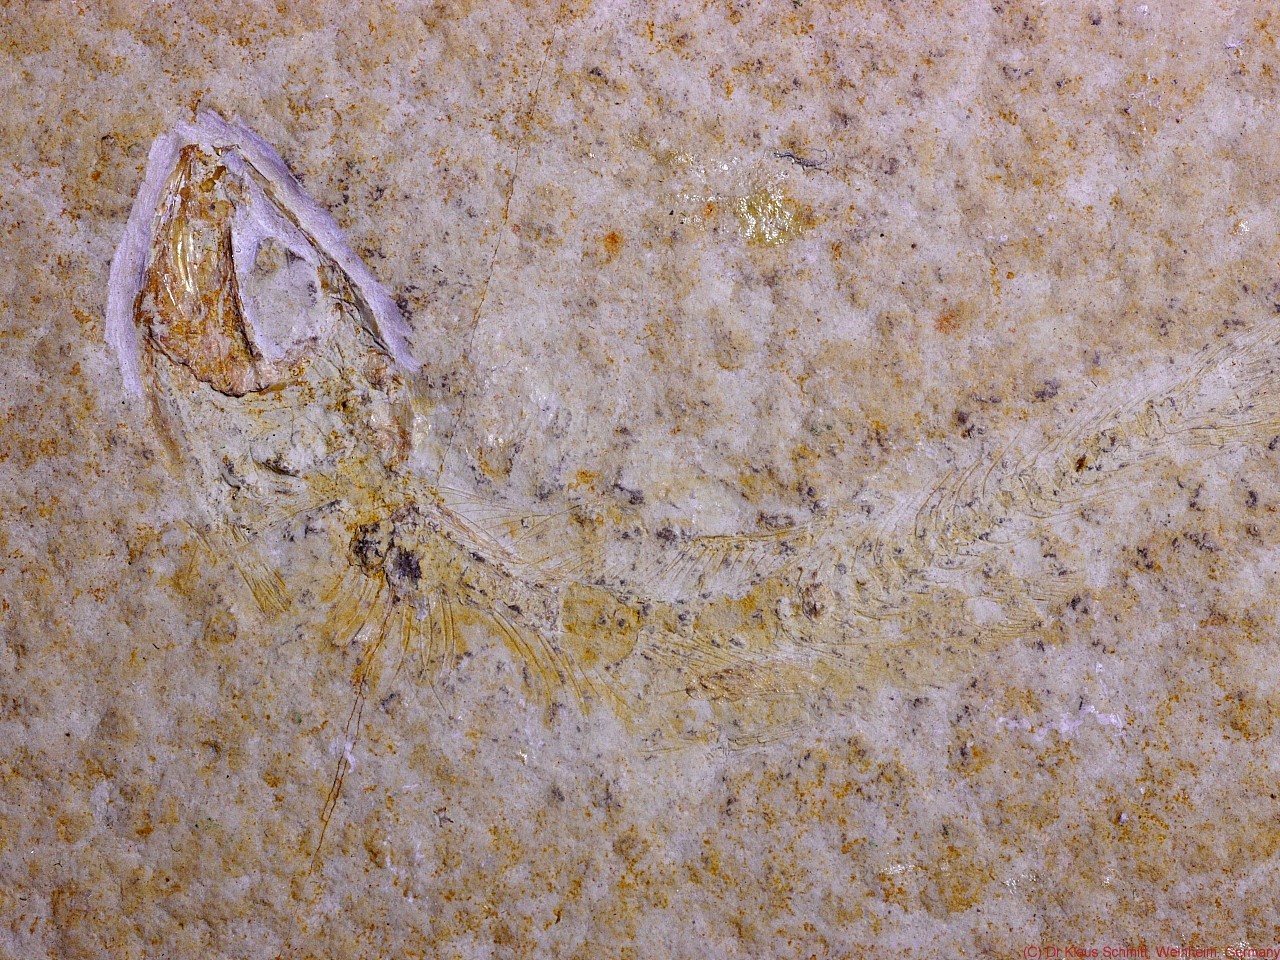
Lens used was my CERCO f4.1 / 94mm quartz fluorite lens, light sources were a modified high power Xenon flash, as well as a NICHIA 365nm Power LED. Target was a fossilized fish from Solnhofen, Germany, approx. 100 Mio years old.

[click on image to see a larger one]

Visible light image using UV/IR Cut filter:


Reflected UV image using Baader-U filter (310-390nm): 


UV stimulated visible fluorescence (FL) using Nichia 365nm UV LED:


Combined VIS - FL multispectral image: 


Combined VIS - UV multispectral image::


Combined FL - UV multispectral image::


It gets nicely visible that using UV light photography brings out much more details than normal visible light photography and by doing so, enhances the visibility of preserved bone and tissue structures quite a bit. Combining those different images into falso color multispectral images  enhances the structures even more.

Stay tuned, more will follow on that fascinating subject...

More info on this very interesting field may be found on my site http://www.pbase.com/kds315/uv_photos

Tuesday, September 4, 2012

Increasing the UV (ultraviolet) light output of a Xenon flash

Today about a increasing the output of a Xenon flash system aside from what I have posted here before. I have to issue a warning: ALL THE FOLLOWING INFORMATION CONTAINS INFORMATION THAT COULD CAUSE DAMAGE TO YOUR HEALTH AND SHOULD ONLY BE DONE IF AND WHEN THE NEEDED EXPERIENCE IS THERE AS WELL AS THE NEEDED SAFETY MEASURES SUCH AS EYE AND SKIN PROTECTION! ALL RISK WILL BE ON YOU IF YOU REPEAT FOR YOURSELF WHAT I WILL DESCRIBE IN THE FOLLOWING! Well, after having said that, let me briefly describe what I have done.

What I have done is, that after I have taken out the Xenon tube from a flash system I etched away the UV blocking metallic coating by bathing it for about 20-30 minutes in 30% HCL acid (Hydrochloric acid) using proper eye and hand protection, under a running exhaust, with cleaned water to rinse the tube while and after the procedure and making sure not to bump the Xenon tube anywhere, as it is under very high pressure and it may explode if not properly handled. Only the glass tube should be in contact with the acid, not the metallic conductors leading into the tube. Further, this only works, if the tube has a metallic ingnitor wire around it and NOT if the metallic coating also works as ignitor - etching that away renders the tube useless and it would most likely not fire anymore.

[click on image to see a larger one]

Transmission of a Xenon tube before/while/after/:


So what you see here is the transmission of my Xenon tube before (pink line), while (yellow line) and after the procedure (red line). The difference is quite significant, yielding a total 1.8 stop increase in transmission = output power at 365nm and even more importantly, a much deeper reach into the UV region beyond 300nm. I'm not predicting that this will work with any tube, but that yellowish tube I had, turned out to be perfectly clear afterwards. Another method is to erase that coating using Cerium Oxide abrasive powder, but personally I haven't done that.

AGAIN; DON'T DO THAT IF YOU ARE NOT WELL AWARE OF THE INHERENT DANGER!!

Stay tuned, more will follow on that fascinating subject...

More info on this very interesting field may be found on my site http://www.pbase.com/kds315/uv_photos