Tuesday, September 4, 2012

Increasing the UV (ultraviolet) light output of a Xenon flash

Today about a increasing the output of a Xenon flash system aside from what I have posted here before. I have to issue a warning: ALL THE FOLLOWING INFORMATION CONTAINS INFORMATION THAT COULD CAUSE DAMAGE TO YOUR HEALTH AND SHOULD ONLY BE DONE IF AND WHEN THE NEEDED EXPERIENCE IS THERE AS WELL AS THE NEEDED SAFETY MEASURES SUCH AS EYE AND SKIN PROTECTION! ALL RISK WILL BE ON YOU IF YOU REPEAT FOR YOURSELF WHAT I WILL DESCRIBE IN THE FOLLOWING! Well, after having said that, let me briefly describe what I have done.

What I have done is, that after I have taken out the Xenon tube from a flash system I etched away the UV blocking metallic coating by bathing it for about 20-30 minutes in 30% HCL acid (Hydrochloric acid) using proper eye and hand protection, under a running exhaust, with cleaned water to rinse the tube while and after the procedure and making sure not to bump the Xenon tube anywhere, as it is under very high pressure and it may explode if not properly handled. Only the glass tube should be in contact with the acid, not the metallic conductors leading into the tube. Further, this only works, if the tube has a metallic ingnitor wire around it and NOT if the metallic coating also works as ignitor - etching that away renders the tube useless and it would most likely not fire anymore.

[click on image to see a larger one]

Transmission of a Xenon tube before/while/after/:


So what you see here is the transmission of my Xenon tube before (pink line), while (yellow line) and after the procedure (red line). The difference is quite significant, yielding a total 1.8 stop increase in transmission = output power at 365nm and even more importantly, a much deeper reach into the UV region beyond 300nm. I'm not predicting that this will work with any tube, but that yellowish tube I had, turned out to be perfectly clear afterwards. Another method is to erase that coating using Cerium Oxide abrasive powder, but personally I haven't done that.

AGAIN; DON'T DO THAT IF YOU ARE NOT WELL AWARE OF THE INHERENT DANGER!!

Stay tuned, more will follow on that fascinating subject...

More info on this very interesting field may be found on my site http://www.pbase.com/kds315/uv_photos

Saturday, September 1, 2012

XNUV - a much faster filter for reflected ultraviolet (UV) photography

Today about a faster filter for reflected UV photography, as there seems to be demand for handheld UV shooting or shooting at higher speeds for instance for video work. After having thought about that for a while and about the whole chain light-object-filter-lens-sensor, an idea for a new filter came up, the XNUV, that I finally tested for the first time now using the Baader-U UV pass filter for comparison, a CERCO 94mm quartz flourite lens and my UV sensitive camera. Here presented in black and white diptych form, as the colors really don't matter for scientific work.

[click on image to see a larger one]

The used R. hirta flower is reflecting from 320 - 420nm with a distinct peak around 365nm at its petal tips and creates a very distinct UV bullseye pattern and UV nectar guide for its pollinators and that serves nicely as test object here.


Now on to the test results...
Ultraviolet (UV) image using Baader-U left) and XNUV filter (right):


Ultraviolet (UV) image using Baader-U left) and XNUV filter (right) - pattern detail:


Ultraviolet (UV) image using Baader-U left) and XNUV filter (right) - sharpness detail:


What is important to notice is, that the XNUV is also able to precisely reproduce this distinct UV pattern as well as it shows a quite improved sharpness as compared to the Baader-U filter. And most importantly it is 3 stops faster than when using the Baader-U filter, which is a very impressive result as it will make it much easier also for video work.

I will report more about that filter here later, as more testing needs to be done.

Stay tuned, more will follow on that fascinating subject...

More info on this very interesting field may be found on my site http://www.pbase.com/kds315/uv_photos

Rudbeckia hirta: human vision vs simulated bee vison; reflected UV ultraviolet photography V

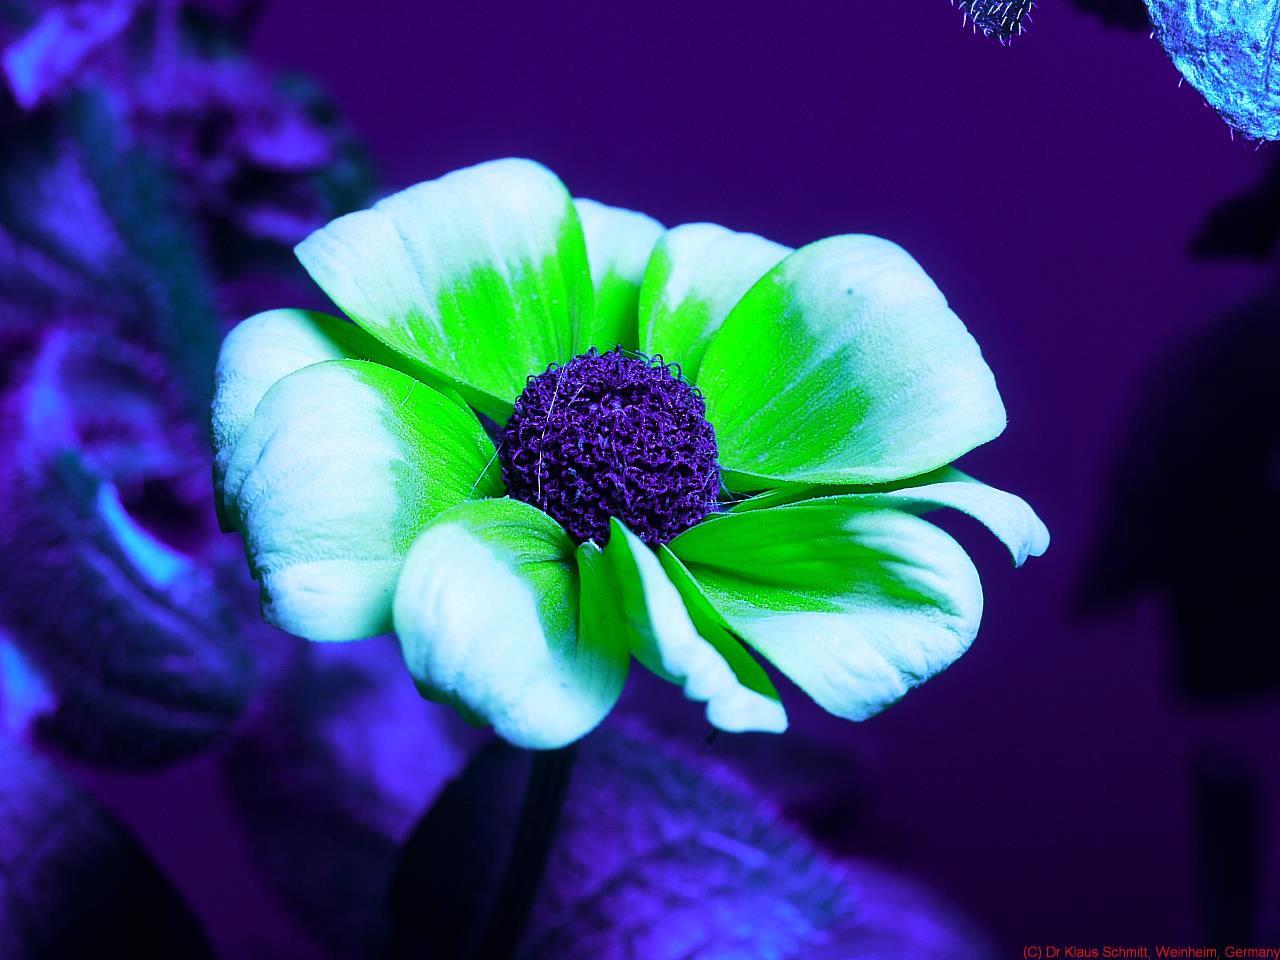
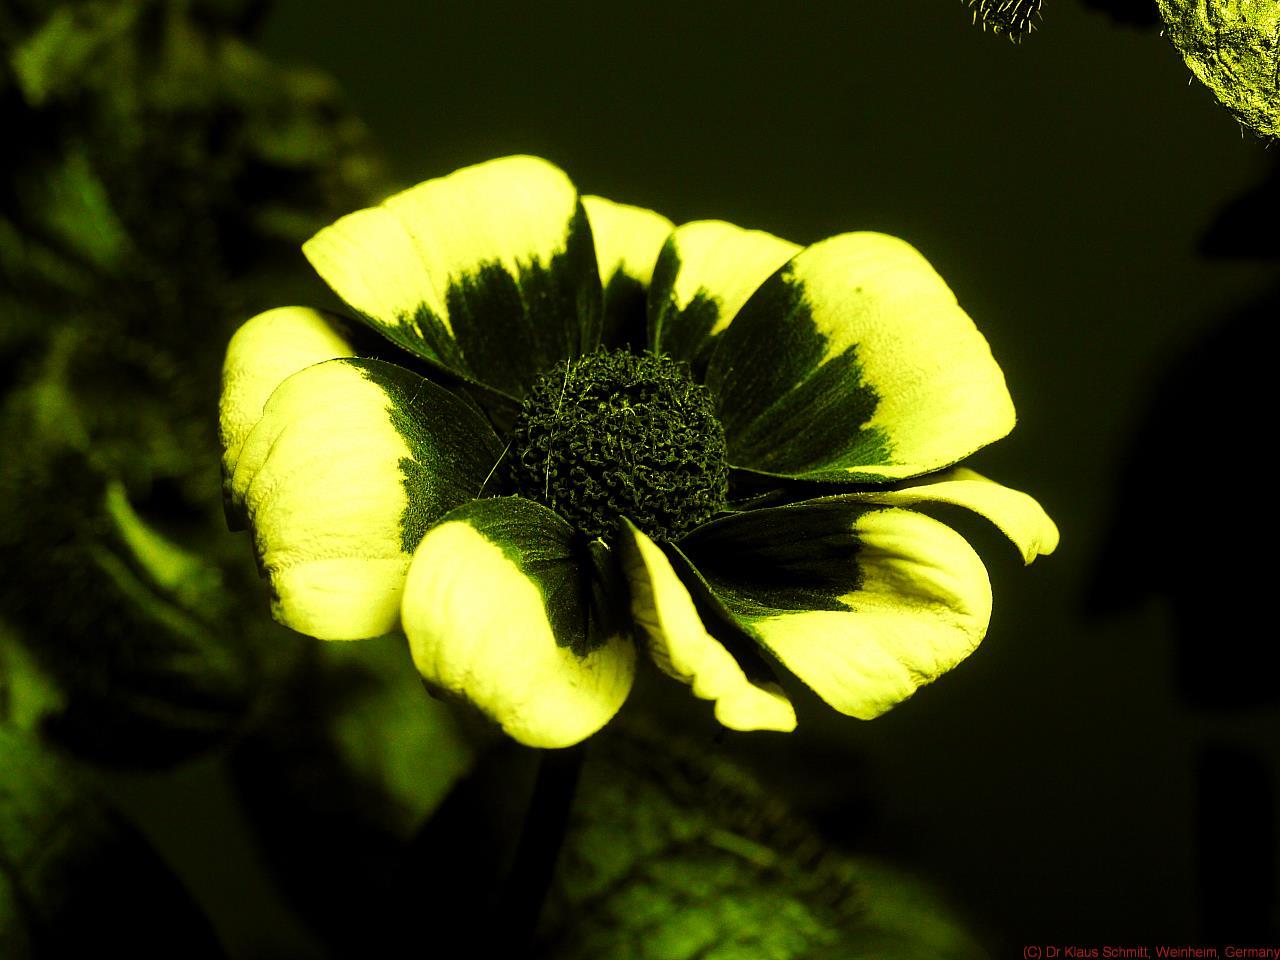
Well today I modified my high power flash for even more UV output. So a few test shots using as target a R. hirta as I have shown before in its multispectral representation. I took some shots in normal human vision VIS, in UV using the Baader-U, my all proprietary filters Jupiter-U and Saturn-U (300-350nm) filter, as well as in simulated bee and butterfly vision using my XBV2, XBV3 and XBV6 filter respectively.

[click on image to see a larger one]

Visual shot - human vision: Simulated butterfly vision using XBV3 filter: Simulated butterfly vision using XBV2 filter: Simulated bee vision using XBV6 filter: UV using Baader-U filter: UV using Jupiter-U filter: UV using Saturn-U (300-350nm) filter: IR (basically) as it was shot using only a ND filter: About all Rudbeckias and also this R. hirta have a very prominent, otherwise invisible "bullseye pattern" which gets nicely visible in UV (around 360nm) and bee vision (BV). Since leafs (petals were leafs one) reflect from 700-750nm onwards, that pattern is also invisible in IR.

Stay tuned, more will follow on that fascinating subject...

More info on this very interesting field may be found on my site http://www.pbase.com/kds315/uv_photos

Sunday, August 12, 2012

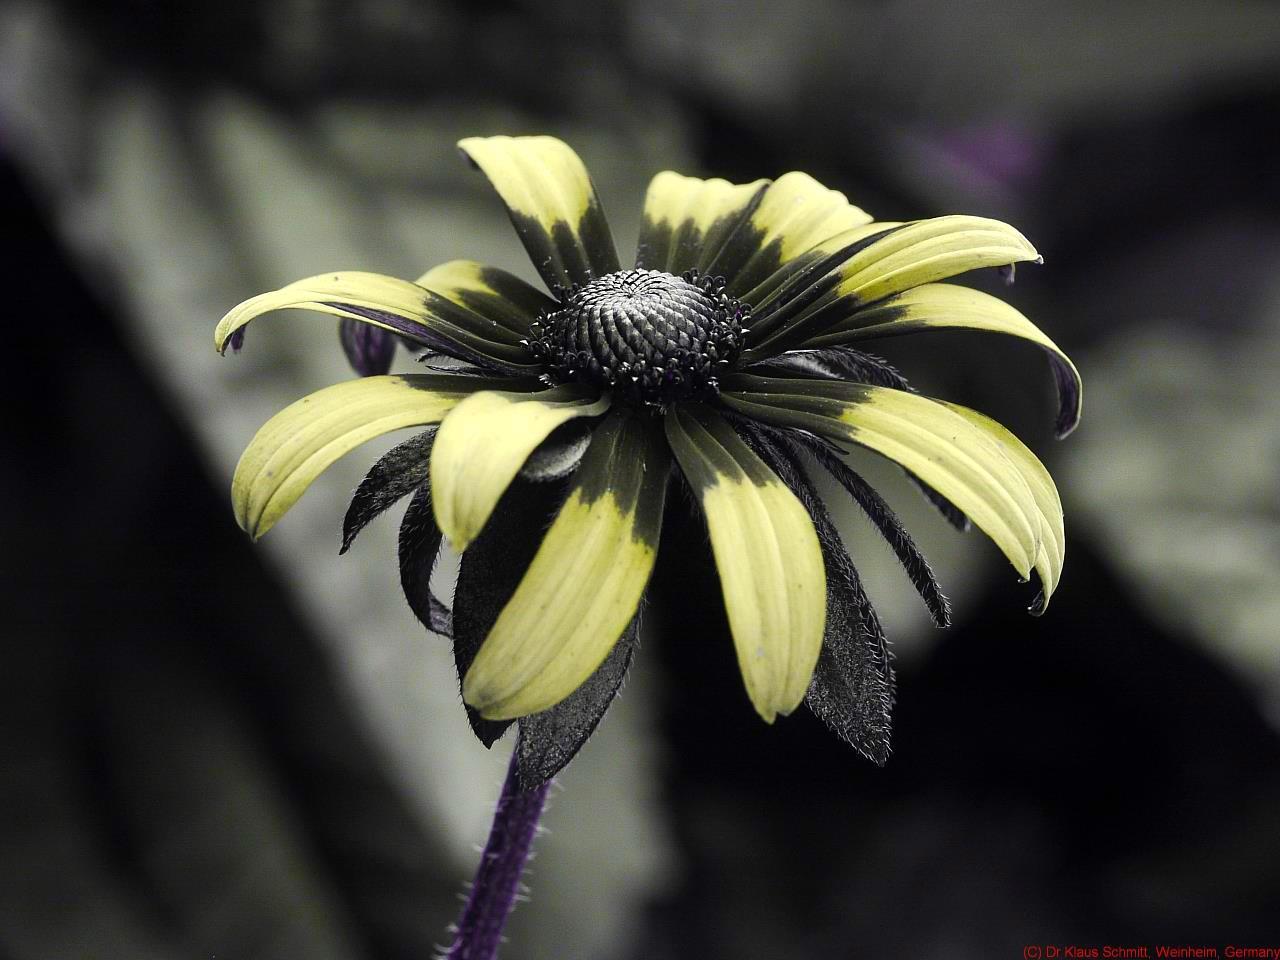
Rudbeckia fulgida var. deamii: human vision vs bee UV vision; reflected UV ultraviolet photography

Today about another attractive flower, for humans as well as bees: Rudbeckia fulgida var. deamii. Shot outside with natural light (blue sky, no direct sun) in visible and ultraviolet light, using the Baader-U UV pass filter, a CERCO 94mm quartz flourite lens and my UV sensitive camera.

[click on image to see a larger one]

Visible light image:


Ultraviolet (UV) light image:


Diptych VIS - UV:


The petals of this R. deamii variant shows a, invisible for us humans, very distinct "bullseye" UV pattern, as many other Rudbeckia species do. Also this one is reflecting around 365nm at its petal tips and is creating a very distinct UV nectar guide for its pollinators.

The California Academia of Science has chosen these images for its new 2015 exhibit "Colors of Life"

Stay tuned, more will follow on that fascinating subject...

More info on this very interesting field may be found on my site http://www.pbase.com/kds315/uv_photos

Saturday, August 4, 2012

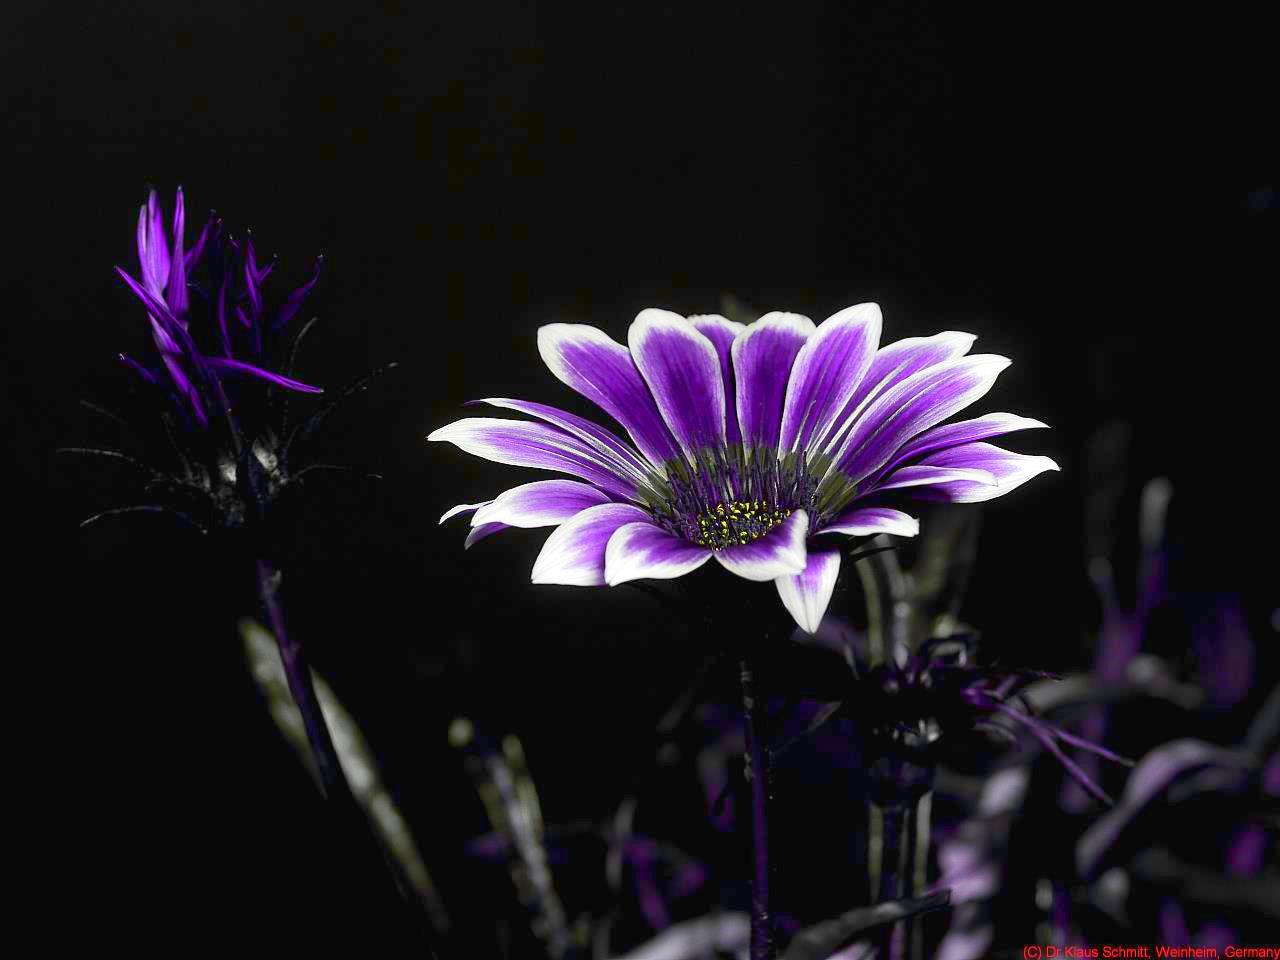
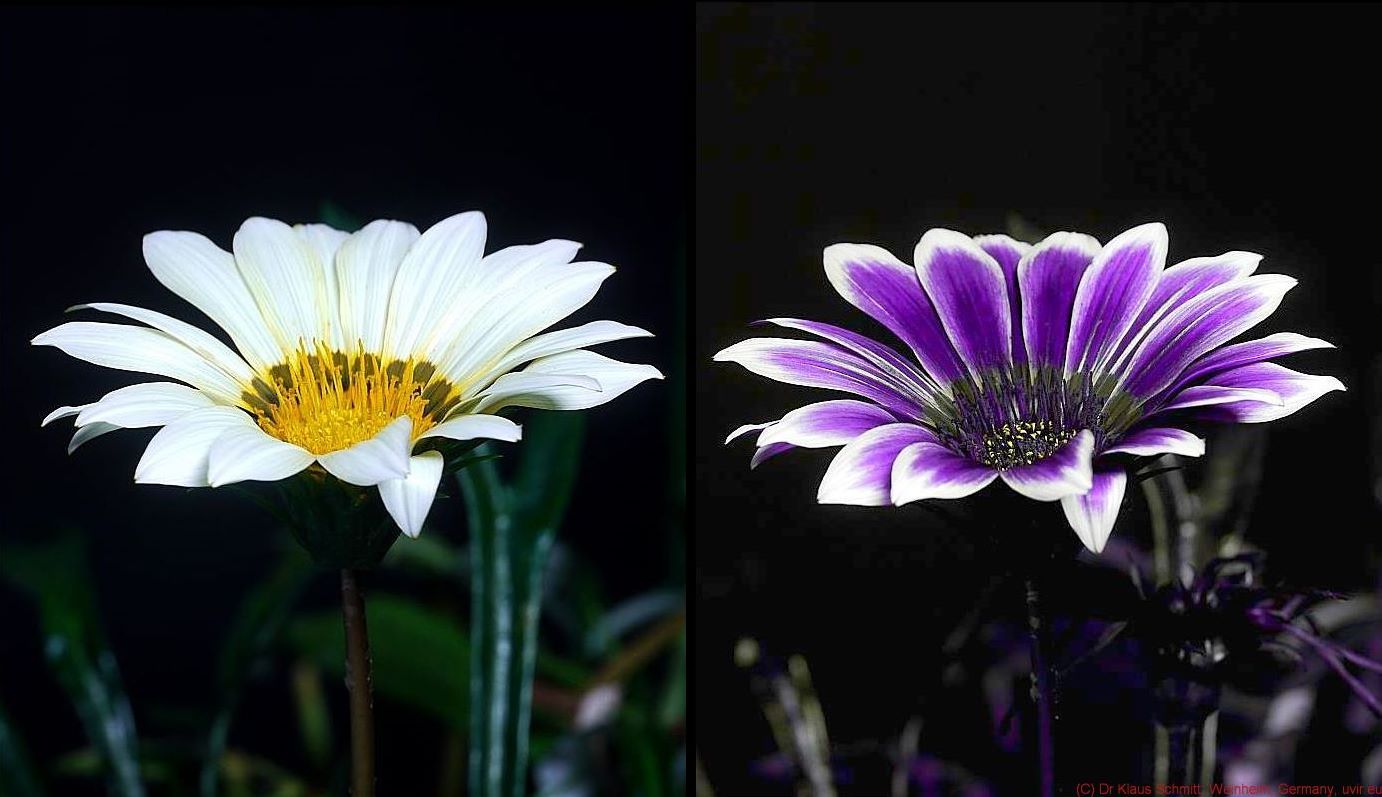
White Gazania rigens flower: Baader-U filter for reflected UV ultraviolet photography

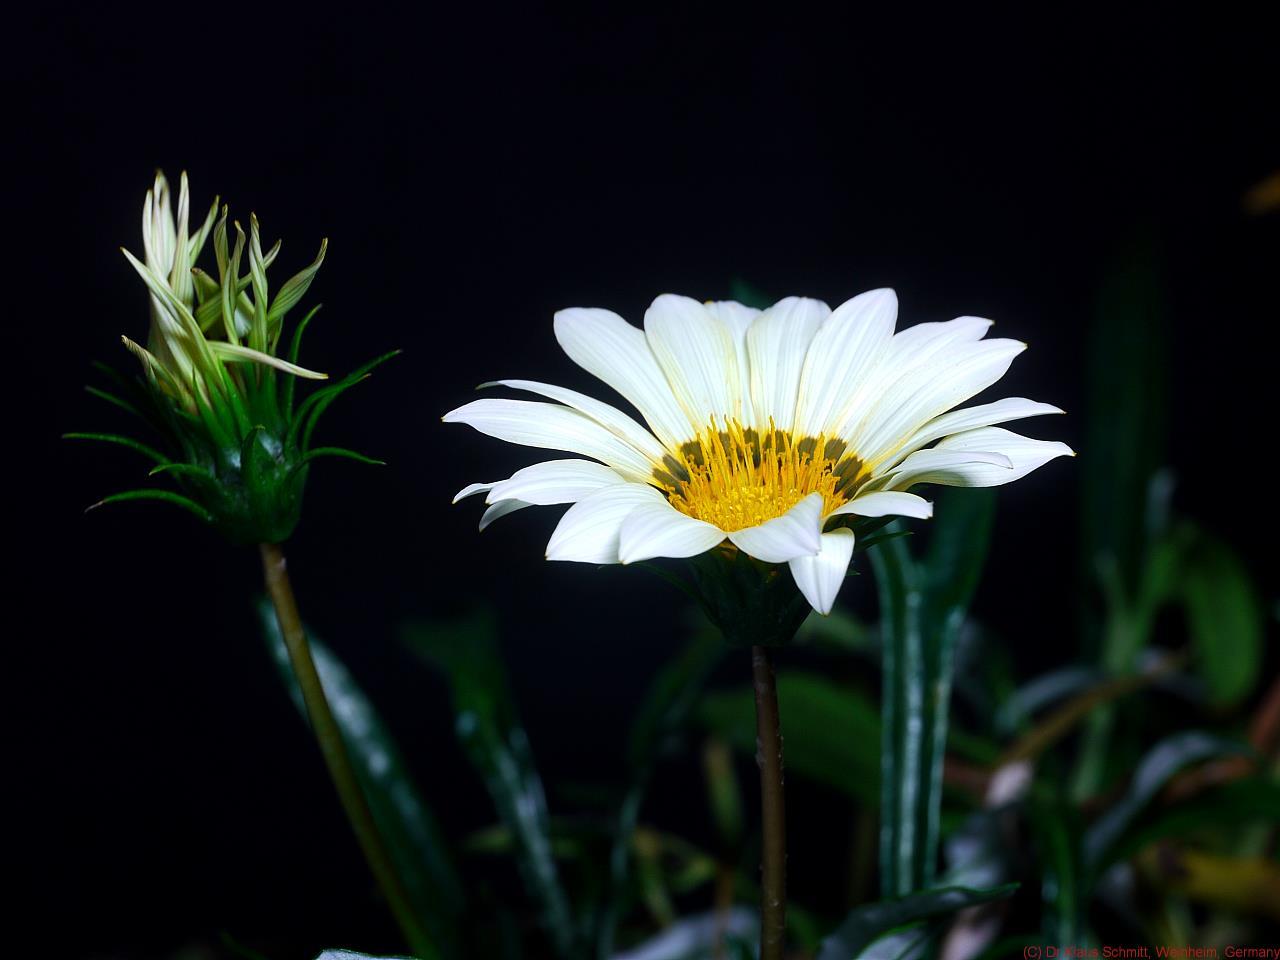
More about a white Gazania flower, most likely Gazania rigens. Shot in visible and ultraviolet light, using the Baader-U filter and a high power Xenon flash as well as an UV sensitive camera.

[click on image to see a larger one]

Visible light image:


Ultraviolet (UV) light image:


Diptych VIS - UV:


The petals of this white Gazania are quite special, since they show in UV an otherwise invisible bright rim (reflecting around 370nm) against a UV darker, but still reflective (around 385nm) inside. The stigmas are also very UV bright, whereas the stamen are quite dark so overall create quite distinct UV nectar guides for their pollinators.

Stay tuned, more will follow on that fascinating subject...

More info on this very interesting field may be found on my site http://www.pbase.com/kds315/uv_photos

Thursday, August 2, 2012

Filter leakage in reflected UV ultraviolet photography - DIY filter vs Baader-U

Today about leakage in reflected UV photography and how to detect it. When I started many years ago, non-UV leakage effects in supposedly purely reflected UV photography was a big issue before the now "standard" UV transmission filter, the Baader-U filter was brought to the market by the company Baader-Planaterium, Germany based on intensive research of astronomer Mr Thomas Baader, who combined Schott filter glass with a multilayered, dichroic overcoating to suppress IR leakage. The method before was using for instance filter stacks consisting of a IR leaking UV filter, SCHOTT UG1 or UG11, plus IR suppressing SCHOTT S8612, BG38 or BG40 filter glass. The downside was, that the suppression was far from being optimal and under certain shooting conditions one could get massive IR leakage. It takes a bit of experience to see that though and even today one can see a lot of such supposedly "UV images", but basically it is a mix of UV and near IR (NIR), if not often nearly purely NIR.

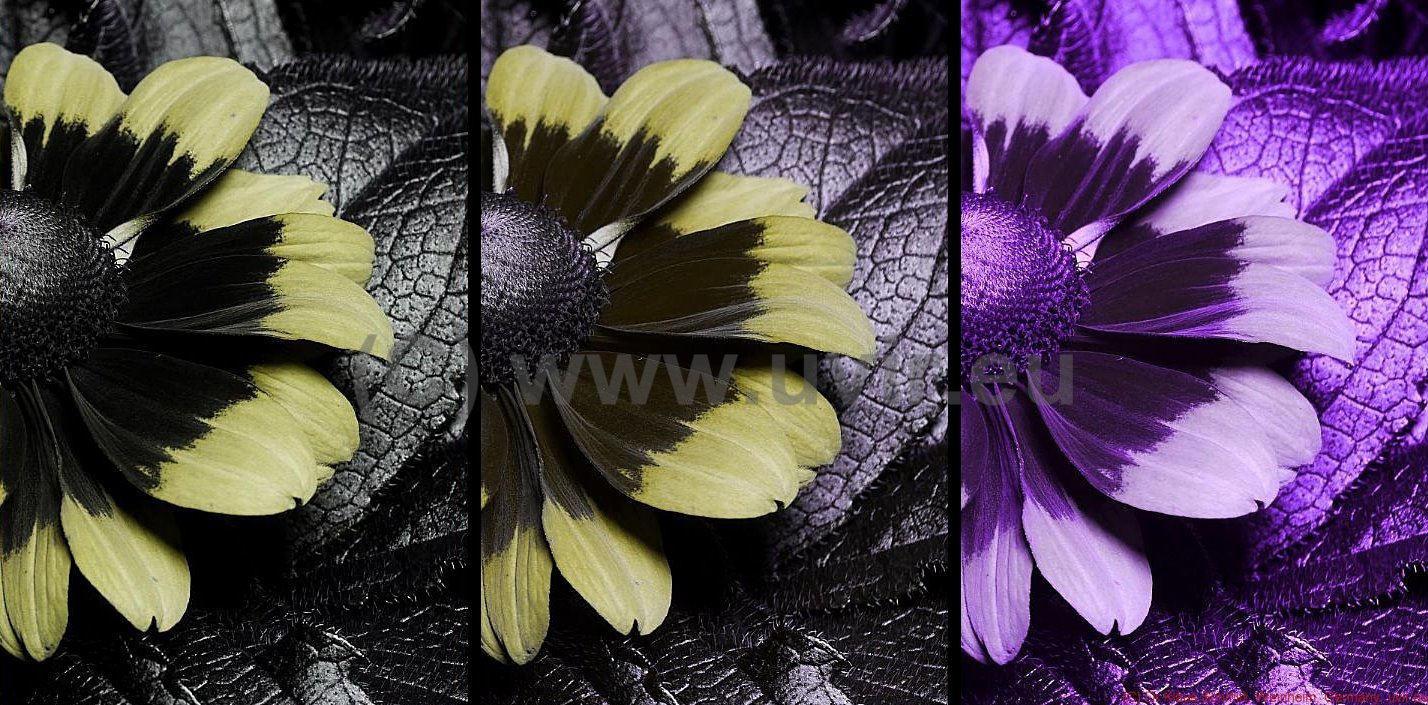
So how does a contaminated UV image look like? A first indication is that non UV reflecting parts (of a flower), that should look very dark, appeared lightened up. A good example to test is Rudbeckia (R. hirta was used here), as it has nearly completely UV absorbing petals in its lower petal parts towards the center, wheras the petal tips are very UV bright. My spectrometric research has confirmed that many times for different Rudbeckia species. Here an example for that:
[click on image to see a larger one]


Its gets pretty obvious, that the petal mid and base have very low reflection (pink line), wheras the petal tip (lilac line) has quite a UV reflection peak around 365nm. Now have a look at the right side of the graph, the visible (VIS) and near infrared (NIR) part of that spectra, from approx. 520nm onwards the reflection rapidly gets quite high, approaching some 50-60%). So any filter, that does not perfectly block these non-UV parts will show leakage i.e. flower parts that should be (very) dark will appear lightened up. Here an example for that:


Left shows the Baader-U filter used, middle and right show the results of using more (right) or less (middle) leaking UV filter stacks, here based on SCHOTT UG11 filter glass and a S8612 blocking filter glass (two different thicknesses were used, 2mm for the middle and 1mm for the right image). The flower petal parts that should be very dark, appear in a brownish red. [btw. stacking the two 1mm + 2mm S8612 filters onto the UG11 filter solves the problem, another proof for the leakage]

Remark: the actual color is irrelevant, as based on the whitebalance used, it could be basically any color. Important only is the intensity of these petal parts, which should be quite low, but isn't. Here another example for that, again Baader-U was used on the left image, middle and right are filter stacks (it is the same image, just differently white balanced).


Here another example, this time a Hemerocallis (Day Lily), left Baader-U, right a leaking filter stack was used:


All these images were shot using my UV camera and a flat, beyond 300nm transmitting CERCO f4.1/94mm quartz fluorite lens.

These filter stacks work basically the following way, explained using SCHOTT's filter calculation program for a similar filter stack. The obvious weakness for that case is around 700nm:

[courtesy and (c) SCHOTT]

So, be aware of these effects when assembling your own filter, or buying commercially available filters, as you may end up with useless "UV images", but they may look interesting nevertheless ;)

A hint and a simple explanation: a classic transmission chart of a filter in 0-100% linear scale does not show possible leakage issues. The exposure difference between UV photography and VIS/NIR photography is in the range of 8-12 exposure stops more for UV, so if a filter transmits in the VIS or NIR region more than OD3 (1E-03 or 0.001) it will most likely leak, since 10 stops equal a factor of 1024 i.e. 2exp(10), so 1/1024 = 0.001 that means a normal exposed UV image at -10EV and one through a filter that transmits 0.001 will be about equally exposed. But 0.1% in a linear 0-100% chart is pretty impossible to see, or can you see it here?

[courtesy and (c) SCHOTT]

It is the same example as shown above, just in the usually presented linear graph, so be aware.

There is a continuation of this article HERE.

Stay tuned, more will follow on that fascinating subject...

More info on this very interesting field may be found on my site http://www.pbase.com/kds315/uv_photos

Saturday, July 28, 2012

Zinnia angustifolia mix: human vision vs simulated bee vison; reflected UV ultraviolet photography

From a walk through the beautiful Hermannshof, Weinheim, Germany I brought home these shots of a mix of flowering Zinnia angustifolia, that special mexican variety. I took some shots in normal human vision VIS, in UV using the Baader-U filter, as well as in simulated bee vision using my XBV2 and new XBV6 filters respectively. So here comes Z. angustifolia in its multispectral representation.

[click on image to see a larger one]

Visual shot:


Simulated bee vison using XBV2 filter:


Simulated bee vison using XBV6 filter:


UV using Baader-U filter:


VIS-BV-UV quadriptych:


These Zinnia specimens expose their well known deep into reaching UV (<360nm) tip pattern very nicely, on some there even is no visible pattern at all.

As you may have noticed, I'm still working on my bee vision (BV) filters; BV6 is one with very intensive colors and much shorter exposure time, due to new filter glass combinations.

Stay tuned, more will follow on that fascinating subject...

More info on this very interesting field may be found on my site http://www.pbase.com/kds315/uv_photos